

Integrate On-site messaging with Klarna webSDK
Enable Klarna payment messaging on your online store with Klarna WebSDK.
6 min read
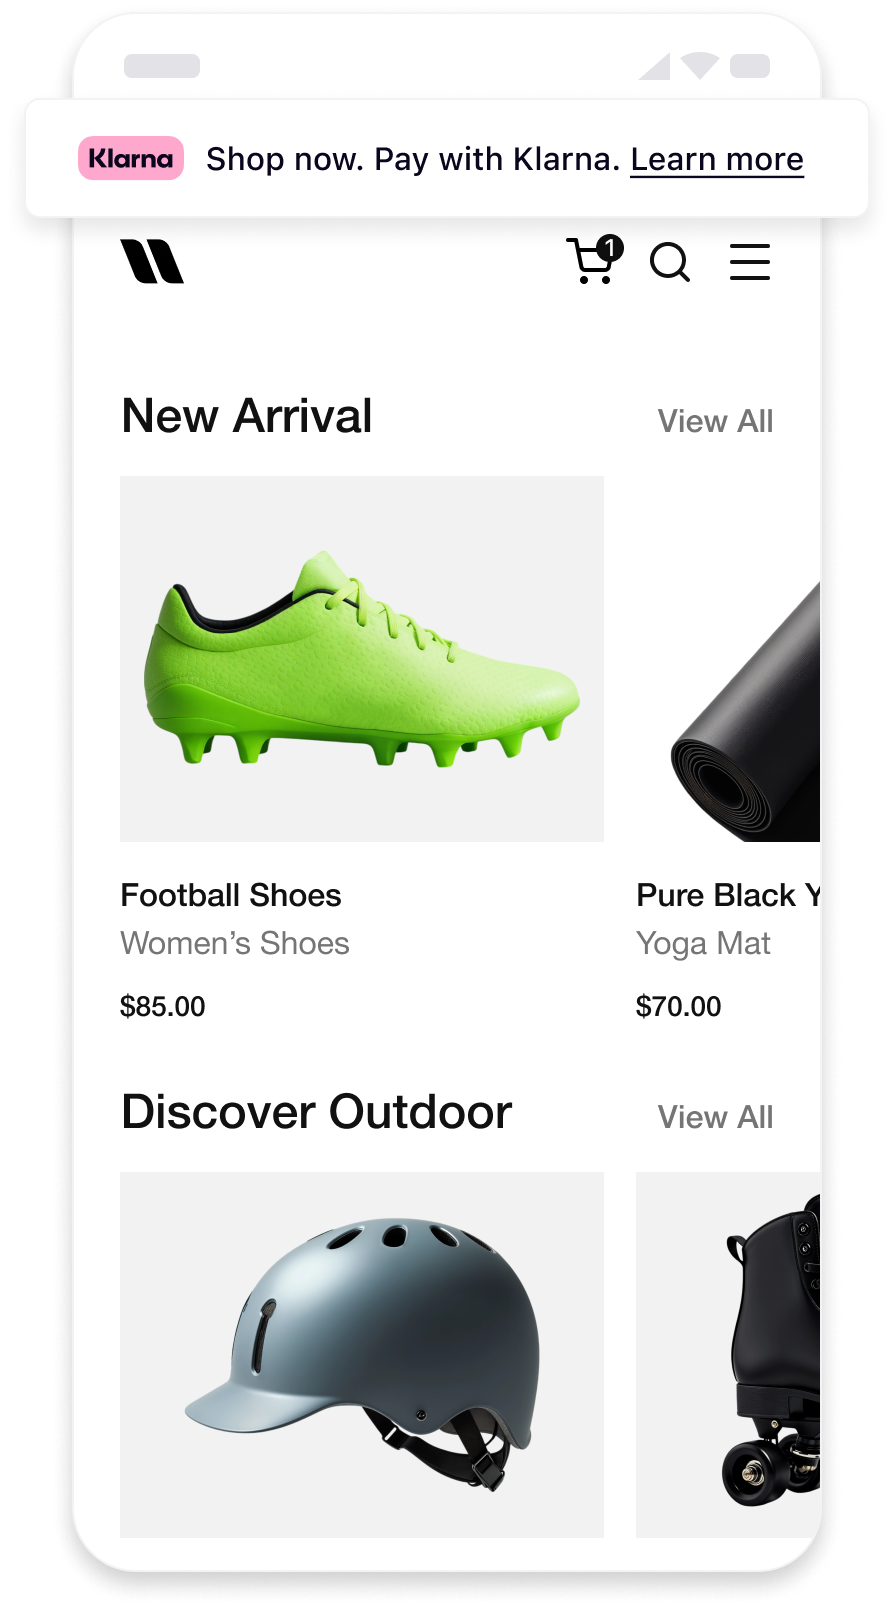 | 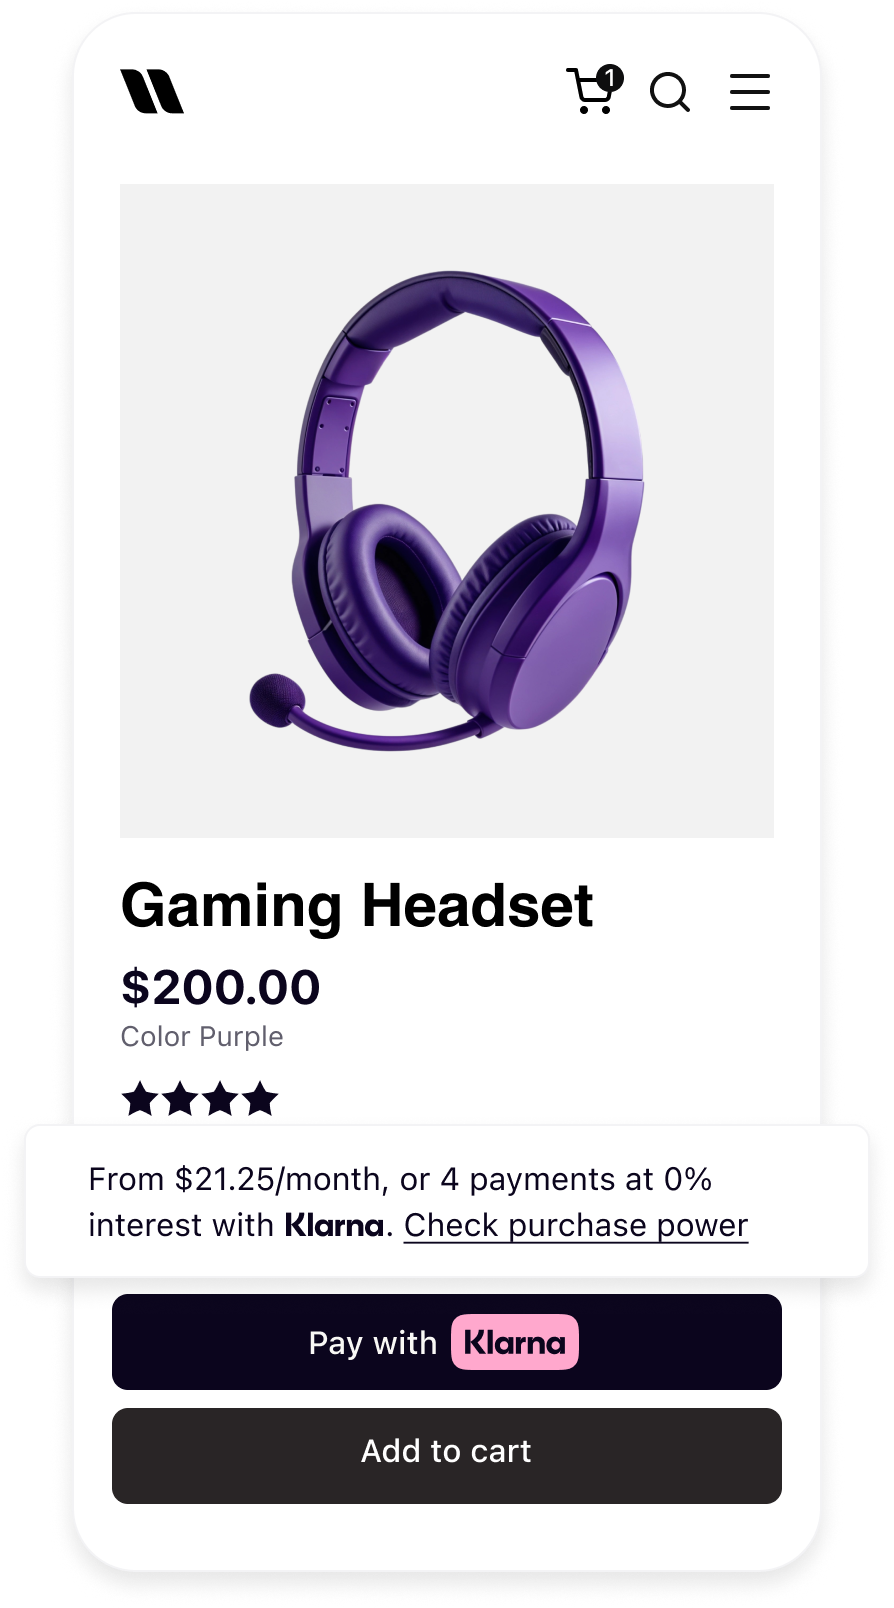 | 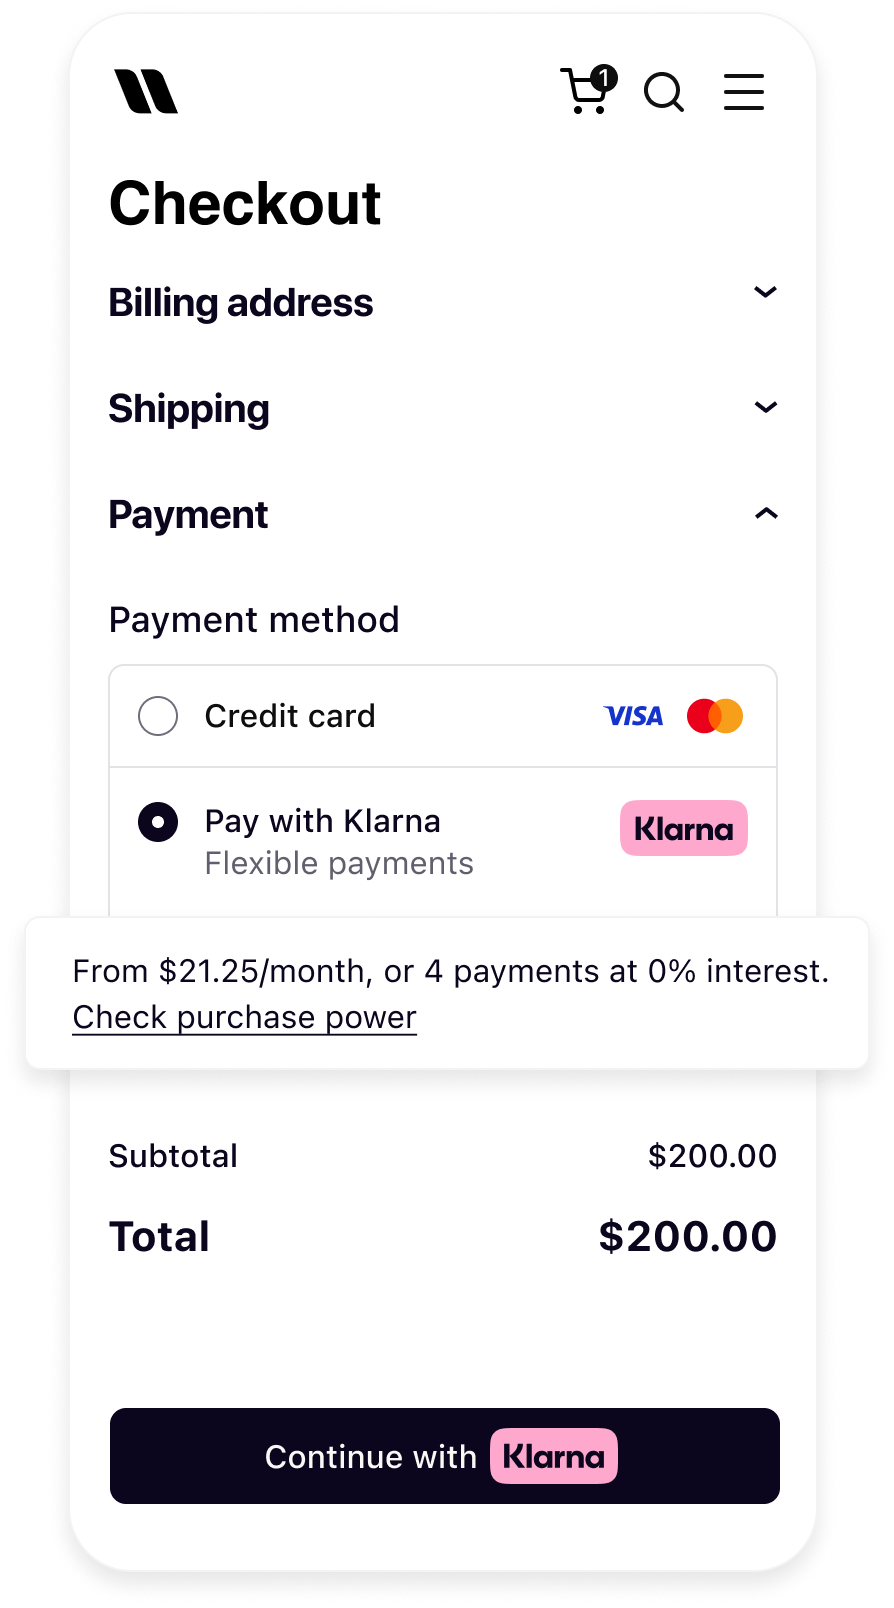 |
| Messaging on the homepage | Messaging on the product detail page | Messaging in the checkout |
Prerequisites recap
Before you integrate On-site messaging, check that you meet the following prerequisites:
- 1.Ensure that you have Klarna enabled with Paytrail.
- 2.Confirm you have access to the Klarna Portal.
- 3.Confirm that you have generated a client identifier with your domain URL allowlisted.
- 4.Add Terms and Conditions for Web SDK.
Integration overview
Here's an overview of all the steps to add On-site messaging into your website:
- Initialize Klarna Web SDK using
https://js. klarna. com/ web-sdk/ v2/ klarna. mjs - Display Klarna On-site messaging on relevant pages.
- Ensure session continuity through Klarna Network Session Token.
Integration details
The Klarna Web SDK (klarna.mjs) follows JavaScript module approach and should be included in places where you need to have a reference to the SDK such as while rendering any components or initiating a payment flow. Always load the Web SDK from https://js.klarna.com/web-sdk/v2/klarna.mjs to remain compliant. Don’t include the script in a bundle or host it yourself.
Use your
clientId to initialize the SDK.JAVASCRIPT
1
2
3
4
5
6
7
8
9
10
<script type="module">
const { KlarnaSDK } = await import("https://js.klarna.com/web-sdk/v2/klarna.mjs")
const klarna = await KlarnaSDK({
clientId: "[client-id]",
products: ["MESSAGING"],
locale: "en-US", // optional
})
// Klarna SDK ready to be utilized| Parameter | Presence | Description |
|---|---|---|
clientId | required | A credential that identifies the you (the Partner), which is obtained via Klarna’s Partner Portal |
products | optional | Array to specify which products to load for optimal performance. This reduces the amount of data needed to download. For example, only loading MESSAGING will exclude the PAYMENT product. |
locale | optional | Language and region code (e.g., en-US). If omitted, Klarna may default based on the customer’s browser settings. |
For the full API specifications, refer to Klarna Web SDK.
Recommended for integration
- The script should always be loaded on the 1st-party context, never inside an iframe, to ensure the purchase flows work as expected.
- Ensure the
productsare properly specified while initializing for the best performance outcome, by providing only the products that will be used by your web application. For On-Site Messaging to function theMESSAGINGproduct must be provided.
Integration requirement
When using the Klarna Web SDK, you are responsible for informing your users about the tracking technologies it uses. Learn more about how to disclose this on your site.
Web SDK provides the
placement method that allows to create and mount the messaging placement programmatically:JAVASCRIPT
1
2
3
4
5
6
7
klarna.Messaging.placement({
key: 'credit-promotion-badge',
amount: 20000,
locale: 'en-US',
theme: 'light'
}).mount('#osm-placement');
The code example above will render the
credit-promotion-badge placement, check the placements page for the full selection of placements.Parameters
| Parameter | Presence | Description |
|---|---|---|
key | required | Placement type key. List of available keys |
amount | optional | Amount in minor units (e.g., $5.00 = 500), required for credit-promotion-* placements and optional for top-strip-promotion-*. To change the amount after mounting, see Update a mounted placement. |
locale | required | Locale for messaging ("en-AT", "de-AT", "nl-BE", "en-BE", "fr-BE", "en-CH", "de-CH", "it-CH", "fr-CH", "en-CZ", "cs-CZ", "de-DE", "en-DE", "da-DK", "en-DK", "es-ES", "en-ES", "fi-FI", "sv-FI", "en-FI", "fr-FR", "en-FR", "en-GB", "en-GR", "el-GR", "en-HU", "en-IE", "en-IT", "hu-HU", "it-IT", "nl-NL", "en-NL", "no-NO", "nb-NO", "en-NO", "en-PL", "pl-PL", "en-PT", "pt-PT", "en-RO", "ro-RO", "sv-SE", "en-SE", "sk-SK, "en-SK", en-CA", "fr-CA", "es-MX", "en-MX", "en-US", "es-US", "en-AU", "en-NZ") |
theme | optional | Defines what the theme of the placement would be, which are light or dark |
id | optional | Unique identifier for the placement. |
Update a mounted placement
Call
update() on a placement you've already mounted to change what it displays without rebuilding it. Use it when the customer edits a cart quantity or a product configuration and the displayed amount has to follow.JAVASCRIPT
1
2
3
4
5
6
7
8
9
const placement = klarna.Messaging.placement({
    key: 'credit-promotion-badge',
    amount: 20000,
    locale: 'en-US',
    theme: 'light'
}).mount('#osm-placement');

await placement.update({ amount: 3000, theme: 'dark' });
Parameters
All parameters are optional. Omit a parameter to keep its current value.
| Parameter | Presence | Description |
|---|---|---|
amount | optional | Amount in minor units (e.g., $5.00 = 500) |
locale | optional | Preferred locale, in IETF BCP 47 format (e.g., en-US) |
theme | optional | Defines what the theme of the placement would be, which are light or dark |
Applying an update triggers an asynchronous content refetch, so
update() returns a promise instead of the placement. Await it when your next step depends on the refreshed content.A resolved promise signals that rendering is done.
update() never throws by design — invalid input leaves the placement on its previous values and logs a warning to the browser console.Integration requirement
Always pass the amount relevant to the page the customer is on. A placement showing a stale amount advertises financing terms Klarna may not be able to offer. You are responsible for ensuring your placements comply with Klarna's advertising and promotional guidelines, including applicable labelling and disclosure requirements — see the On-site messaging terms and conditions.
Prequalification
Some placement types come with the pre-qualification feature enabled. The pre-qualification feature allows customers to check their eligibility for Klarna financing before completing a payment request. This reduces friction and increases confidence, as customers know their options upfront. Placements that support pre-qualifcation are:
top-strip-promotion-* and credit-promotion-*. | 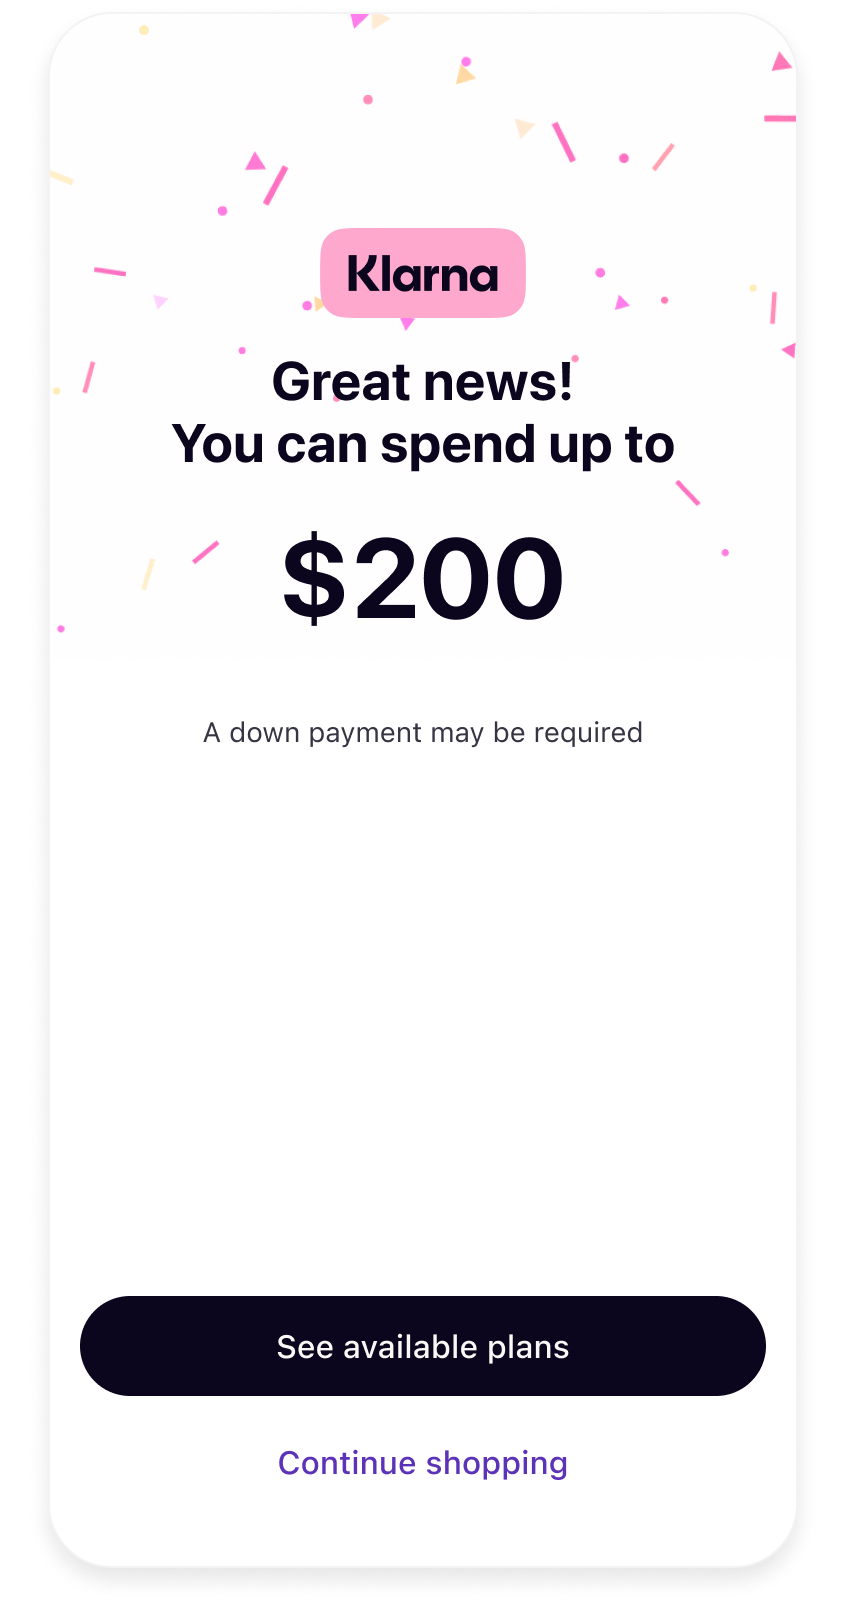 | 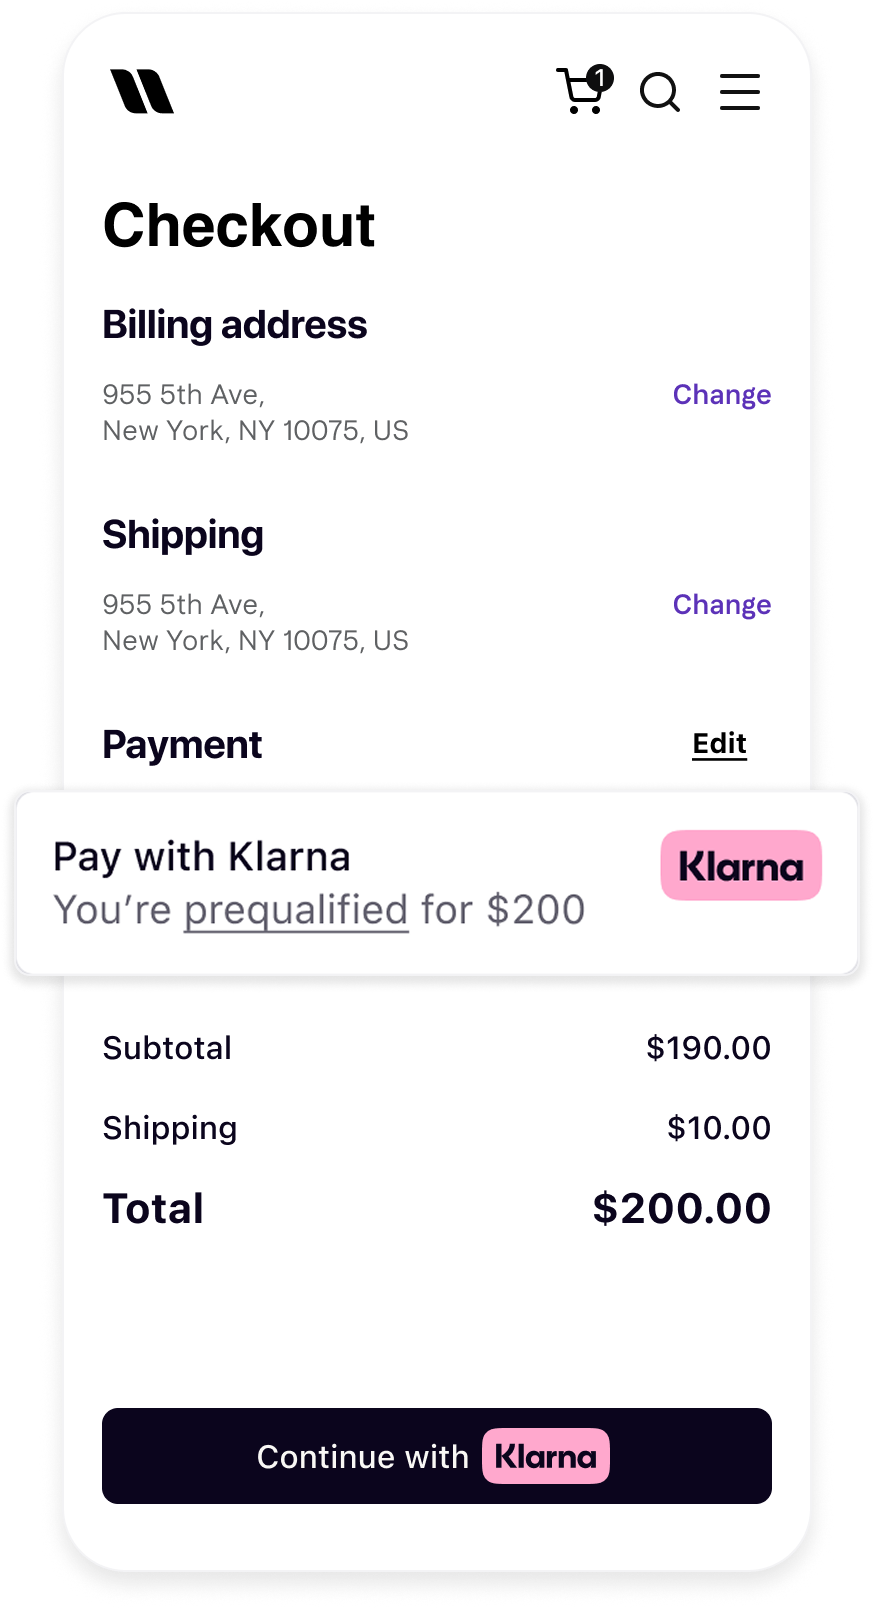 |
| Interact with Product or Cart On-site Messaging placement | Go through Klarna Pre-qualification flow | Checkout page reflects prequalified status |
Regardless of which placement type you use, any customer interaction with a placement can start a Klarna Network Session for that customer.
To keep the information Klarna shows the customer consistent for the rest of their journey, request the Klarna Network Session Token from the Web SDK and forward it to Paytrail when you initiate a payment.
For example, going through pre-qualification will inform the customer about their eligibility and forwarding this Klarna Network Session Token ensures the same pre-qualification outcome is communicated to the customer at every stage of checkout.
JAVASCRIPT
1
const klarnaNetworkSessionToken = klarna.Network.Session.token();For the exact field to forward
klarna_ to when you initiate a payment, refer to Paytrail's integration checklist.Jump to section...