This article provides guidelines on installing and configuring On-site messaging in your WooCommerce store.

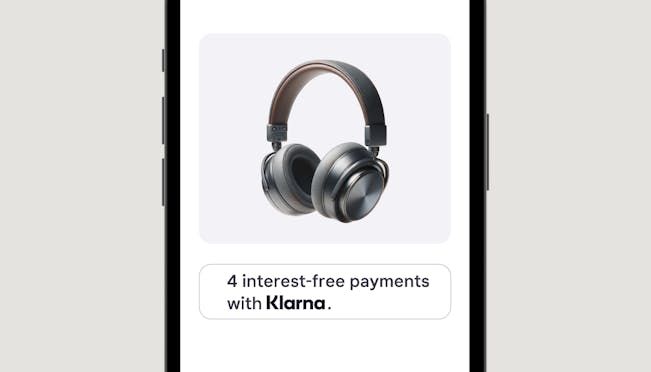
An example of an on-site messaging placement.
On-site messaging can be enabled by any merchant using Klarna as a payment method (either via the Klarna plugin or via a PSP) and having access to the Klarna Merchant Portal to retrieve the client identifier needed to enable this feature.
As of v3.5.0 for Klarna Payments for WooCommerce, On-site messaging is included in the Klarna Payments plugin; if previously a shop using Klarna Payments had the On-site messaging plugin separately, that On-site messaging plugin can be removed from the shop.
Configuration
To configure On-site messaging on WooCommerce, follow the next guidelines:
- Find the On-site messaging configuration settings and options at the bottom of the Klarna payments plugin settings.
- Go to Klarna Merchant portal > Conversion boosters > Plugin setup > WooCommerce page to find the Client identifier.
- Copy the Client identifier, without quotes or whitespace, and paste it into the Client ID field within the Klarna WooCommerce plugin admin configuration.
- Select the checkbox to enable the Product and/or Cart page placements in the Klarna plugin.
- Find the placement data keys in Merchant portal > On-site messaging > Placements.
- For the placement you'd like to use, copy the name of the placement. Paste it into the plugin settings for the Product placement data key field and/or the Cart placement data key field.
- Select a location in the On-Site messaging placement dropdown. This uses standard WooCommerce page locations.
For detailed documentation of On-site messaging for WooCommerce, see here.
How to customize the placement theme
Most Klarna placements that contain the messages have predefined themes (light -which is the default- and dark) and some can be customized.
If a placement accepts customization, you can see the Custom design button at the upper right side of the page in the Merchant portal.
The customization choices in the Klarna WooCommerce plugin include these options:
- Light = default
- Dark = dark
- Custom = custom design
Because of accessibility standards, you can not fully customize all the aspects of the placements.
