Cartridge Upgrade
Regular updates to our cartridge code include bug fixes, performance enhancements, security patches, and new features. Staying up to date with these changes is essential for maintaining compatibility, security, and optimal functionality of your integration.
Follow these steps to upgrade your custom code with the latest version of our cartridge:
Review Release Notes
Start by reviewing the release notes for the latest version of the cartridge. The release notes outline changes, improvements, and any potential compatibility considerations associated with the upgrade.
Assess Custom Code Changes
Identify any customizations or modifications you have made to the SFCC cartridge code in your custom files. These may include storefront customizations, controller adjustments, or custom business logic built on top of our cartridge.
Backup Custom Files
Before proceeding with the upgrade, ensure that you have a backup of your custom files, including any modifications made to the SFCC cartridge code. This backup will serve as a safety net in case any issues arise during the upgrade process.
Compare Code Differences
Use a version control system or a file comparison tool to compare the differences between your custom code and the latest version of the SFCC cartridge code. Pay close attention to areas where changes have been made to ensure compatibility and maintain functionality.
Update Integration Code
Integrate the latest version of the SFCC cartridge code into your custom files, replacing any outdated or deprecated code with the new implementations. Follow the migration guides and best practices provided to ensure a smooth transition.
Test and Validate
After updating your custom code, thoroughly test the integration to ensure that all functionality works as expected. Test various scenarios, including user interactions, data processing, and third-party integrations, to identify any potential issues or regressions.
Address Compatibility Issues
If you encounter any compatibility issues or conflicts with your existing custom code, troubleshoot and resolve them accordingly. Consult our support resources or reach out to our team for assistance in addressing compatibility concerns.
Deploy Changes
Once you are satisfied with the upgrade and have validated its functionality, deploy the changes to your production environment. Monitor the integration closely following deployment to ensure ongoing stability and performance.
Roles and Responsibilities
There are no recurring tasks required by the merchant. Once configurations are set up, the functionality runs on demand.
Storefront Functionality
When Klarna is set up, Klarna Payment options and iframe widgets will be shown on the billing step. All SFCC out-of-the-box (OOTB) checkout functionality remains in place, such as:
- Cart updates during checkout
- Checkout with applied coupon(s) code(s)
- Checkout with applied product-level promotion
- Checkout with applied order-level promotion
- Checkout with applied shipping-level promotion
- Checkout with applied order-level promotion with a bonus product
To use Klarna's payment options on the billing step of the checkout process:
1. Select one of Klarna's payment options as the payment method.
2. Click the “Next: Place Order” button.
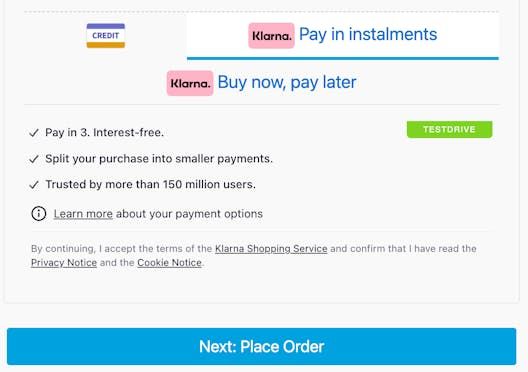
Payment Options on Checkout
3. The Klarna authorization process begins and the pop up is triggered.
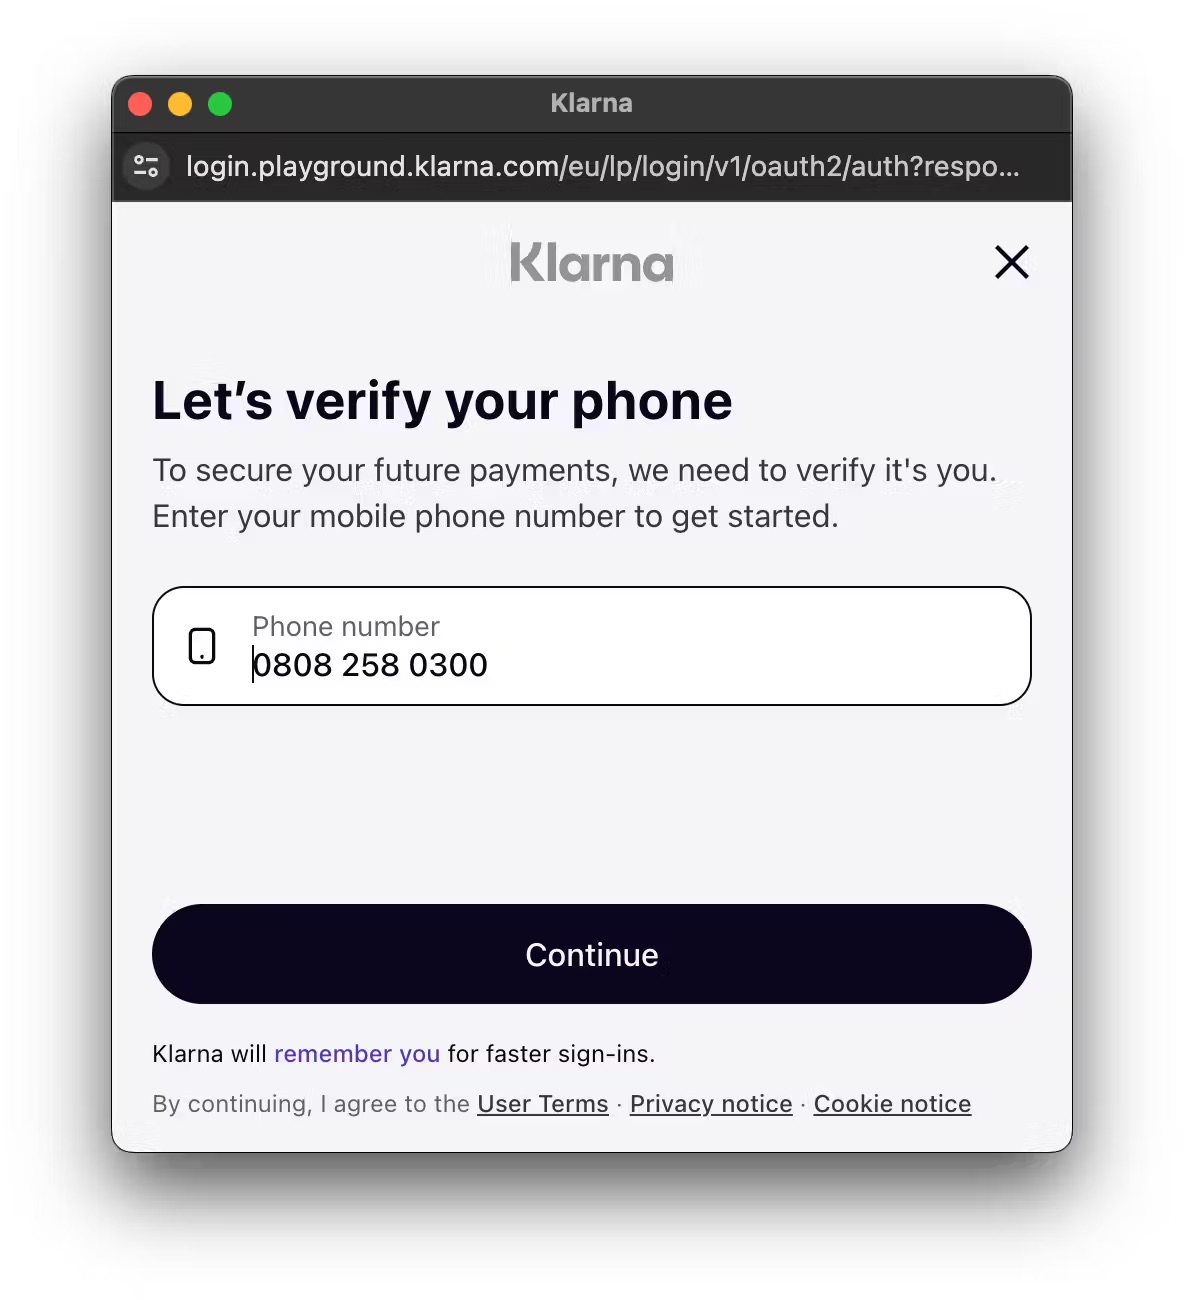
The Klarna popup
4. On the Review step click on “Place Order” button.
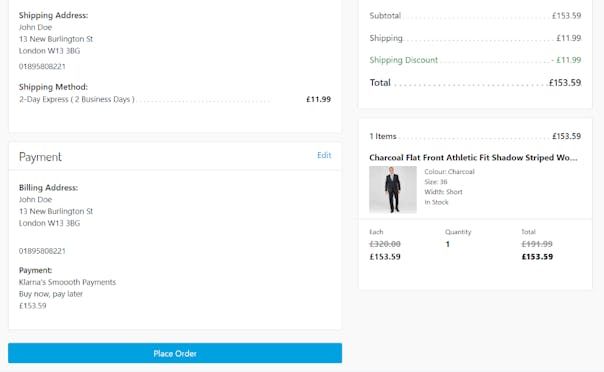
Place order button in SFCC
5. The customer’s browser is sent to the redirect_url and immediately thereafter shown the Commerce Cloud Order Confirmation page.
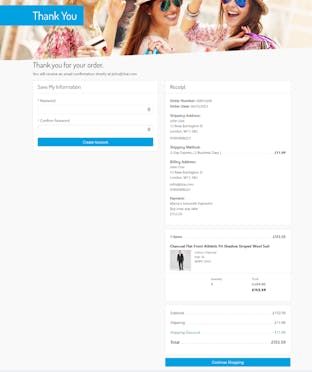
SFCC confirmation page.
6. The newly created order can be inspected in Business Manager.
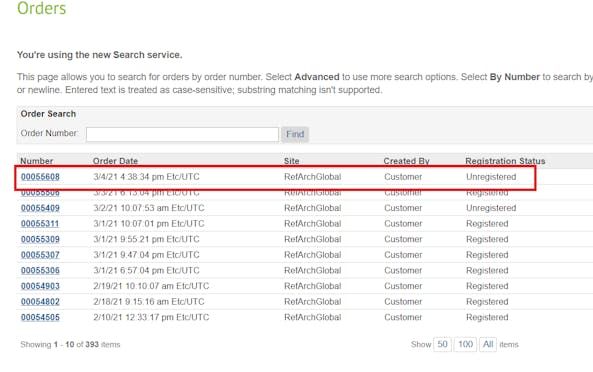
SFCC business manager
- The Klarna Payments order ID can be inspected in the attributes tab of the order.
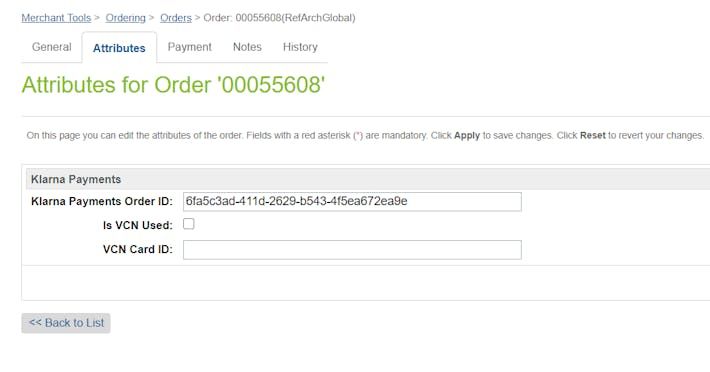
Order attributes in SFCC
- The payment method details can be inspected on the Payment tab of the order, and it should be
KLARNA_PAYMENTS.
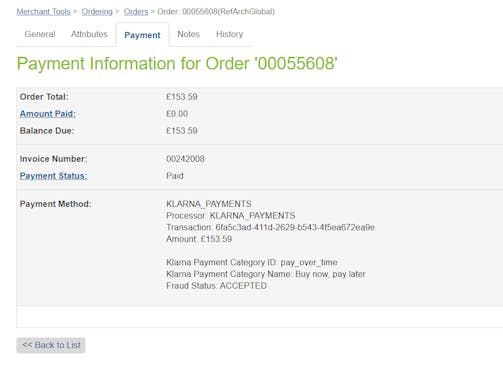
Order payment details
- The order can be further inspected in Klarna Merchant Portal.
SFRA 6 users
To continue using the Klarna plugin with SFRA version 6, please update the following files and build as usual:
package.json
{
  "init": [],
  "name": "klarna",
  "version": "24.4.0",
  "description": "Salesforce Commerce Cloud | Klarna Payment Integration",
  "main": "Gruntfile.js",
  "dependencies": {
    "css-loader": "^0.28.11",
    "eslint": "^3.2.2",
    "eslint-config-airbnb-base": "^5.0.1",
    "eslint-plugin-import": "^1.12.0",
"eslint-plugin-sitegenesis": "~1.0.0",webpack.config.js
/* globals cat, cd, cp, echo, exec, exit, find, ls, mkdir, rm, target, test */
'use strict';

require( 'shelljs/make' );
var path = require( 'path' );
var ExtractTextPlugin = require( 'sgmf-scripts' )['extract-text-webpack-plugin'];
var cartridgePath = './cartridges/int_klarna_payments_sfra/cartridge/';

module.exports = [{
	mode: 'production',
	name: 'js',
	entry: {