

Sign in with Klarna integration
Integrate Sign in with Klarna to enable secure authentication on the Partner's website.
20 min read
Overview
Offer Sign in with Klarna by displaying the Klarna "Sign in with Klarna" button wherever users are expected to log in or register. Customers simply click the button to authenticate via Klarna, granting permission to share selected profile data (e.g. name, email, billing address, shipping address) so they can create or sign in to the Partner's site in a single step.
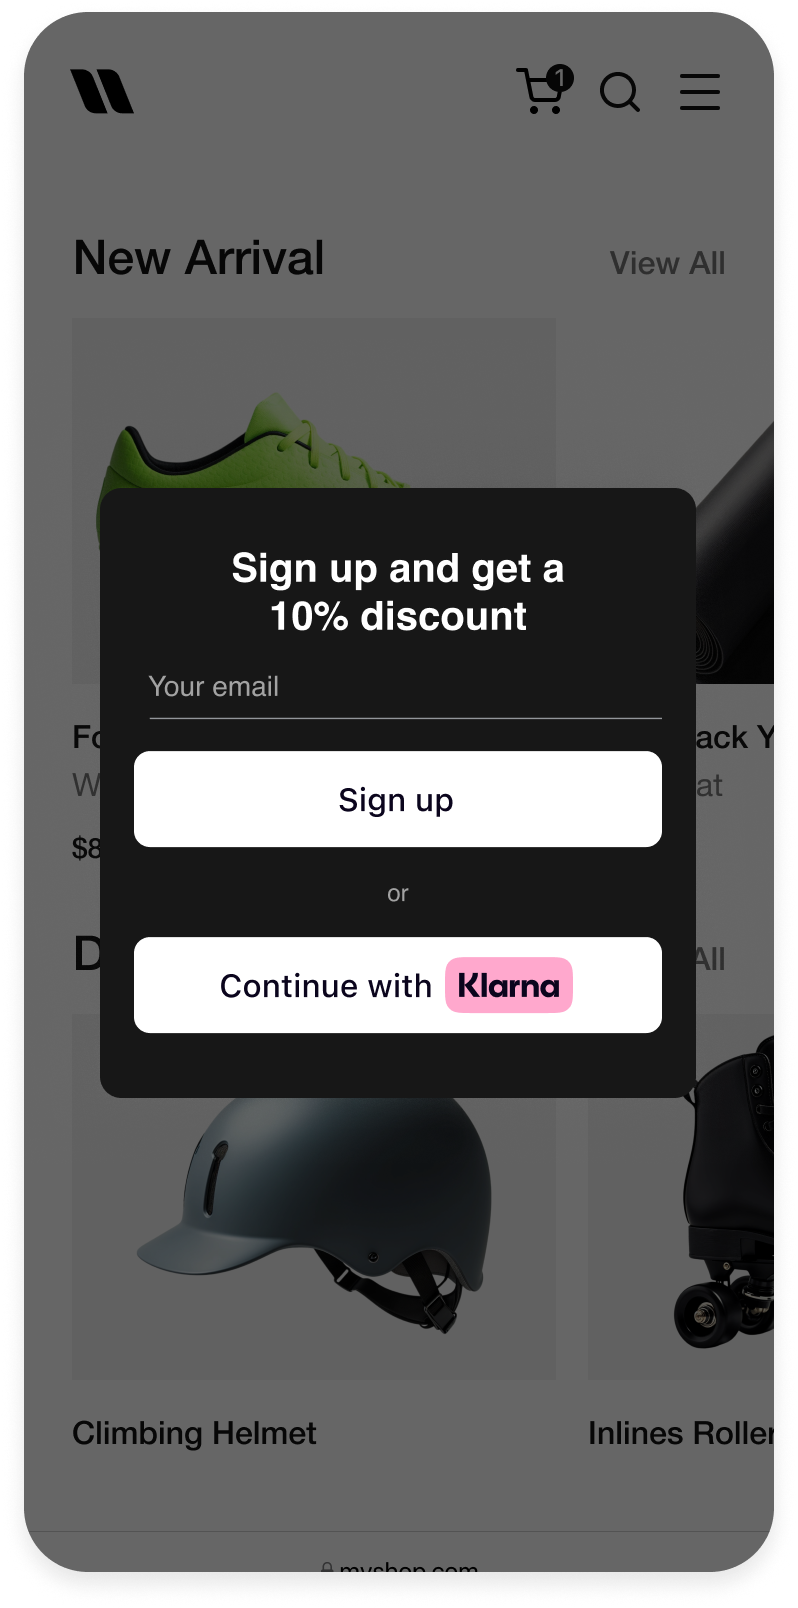 | 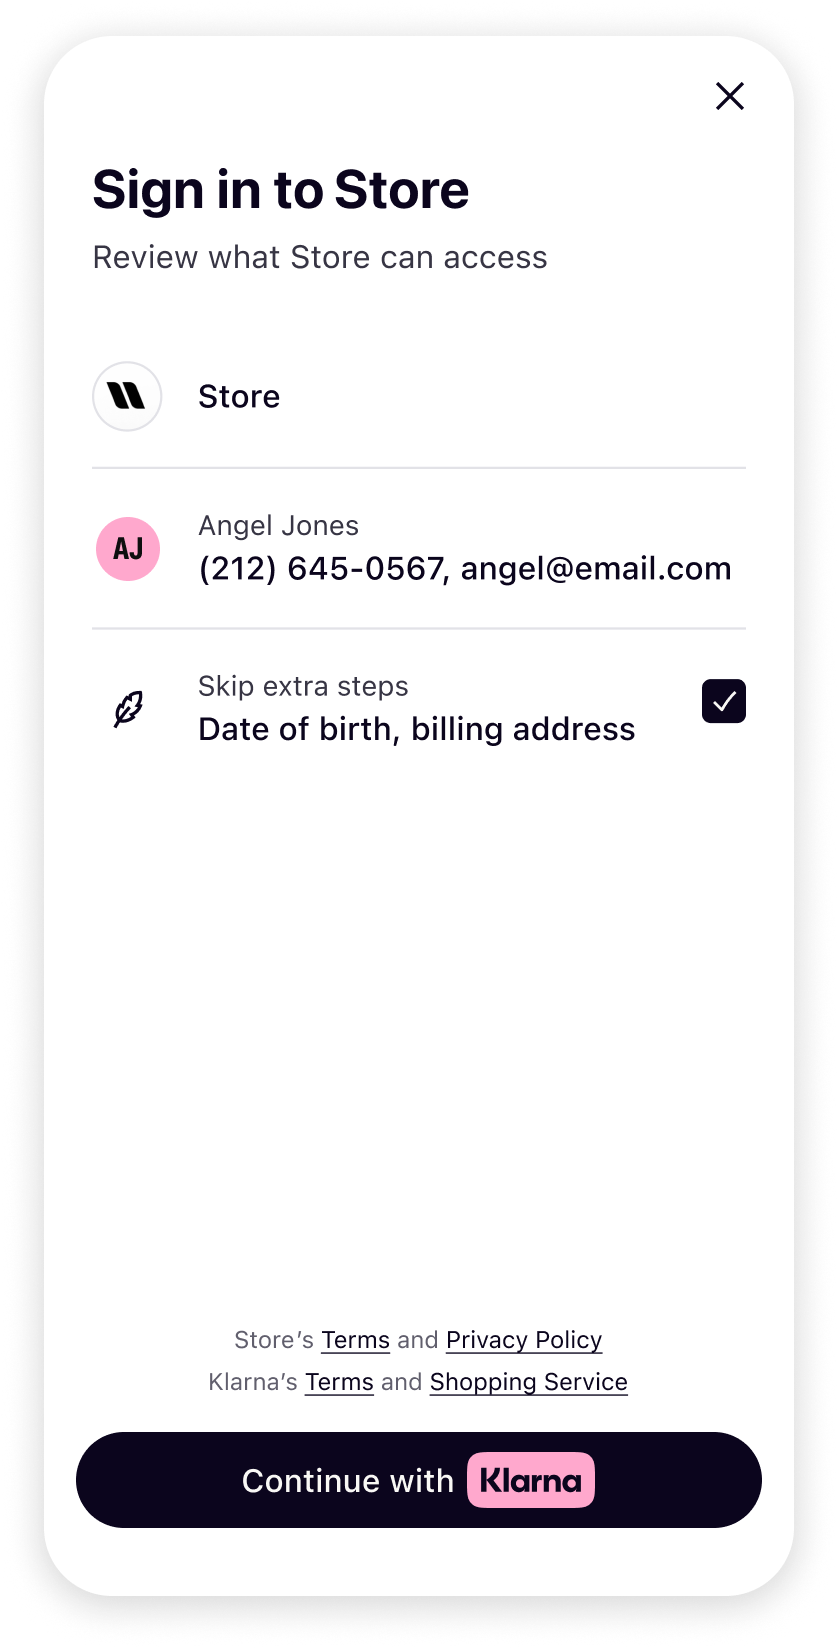 | 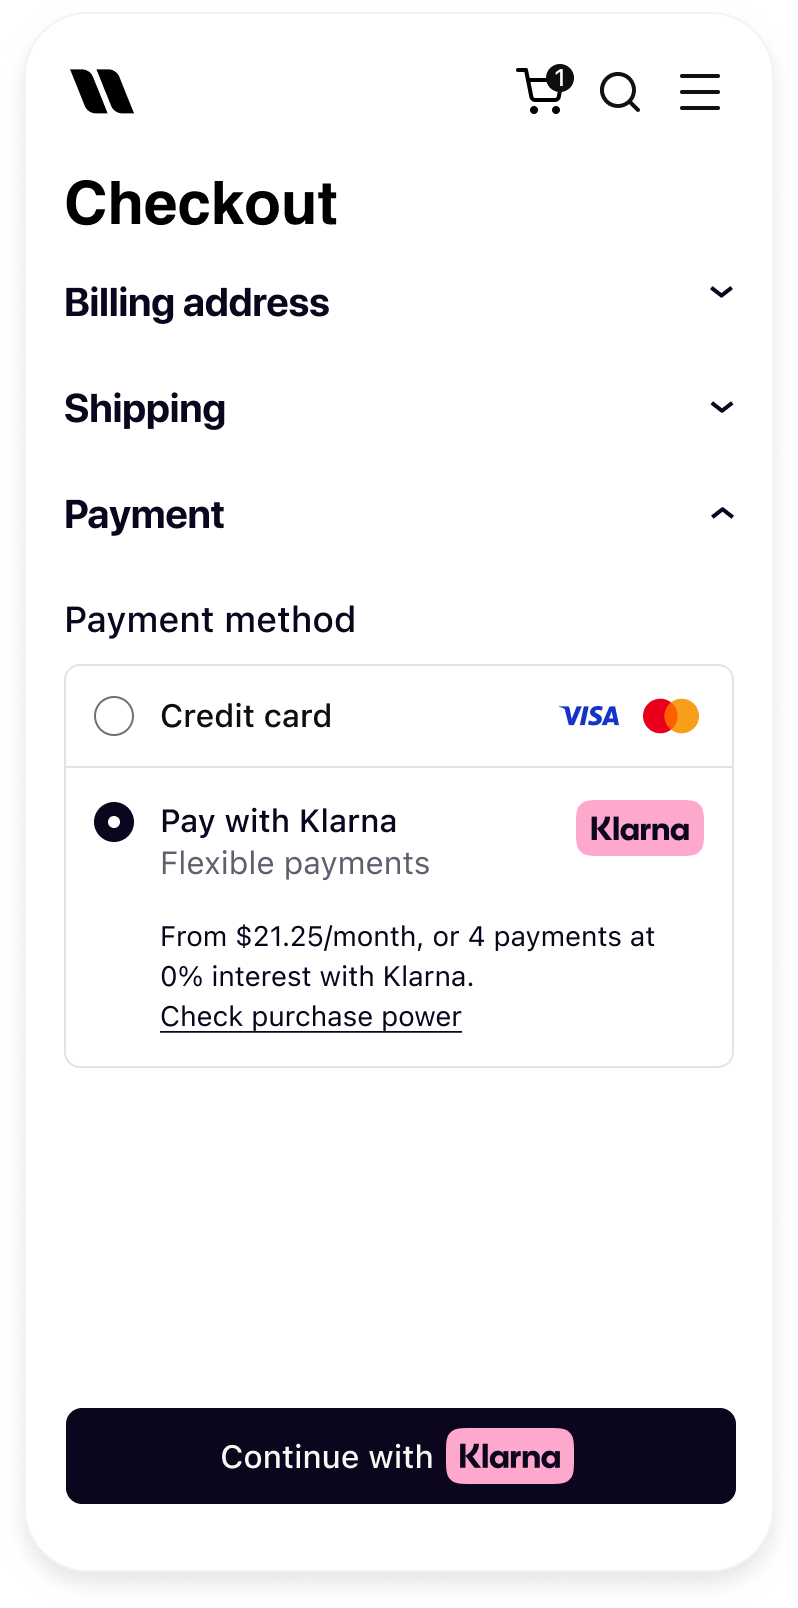 |
| Registration banners and modals | Sign-in process | Registration at Checkout |
Prerequisites recap
Before integrating Sign in with Klarna, ensure the following prerequisites are met:
- 1.A Klarna payment solution has been integrated into the checkout.
- 2.Access to the Klarna Partner Portal is available.
- 3.All necessary steps in the Sign in with Klarna app have been completed.
- 4.A valid client identifier is available, based on the client type.
- 5.An active API key is available.
- 6.Terms and Conditions for the Web SDK have been added. When a client identifier has previously been generated for the store, it can be used to build the Sign in with Klarna integration.
For a comprehensive, step-by-step walkthrough of these prerequisites, refer to the detailed integration guide.
Integration details
sequenceDiagram
autonumber
participant C as Customer
participant P as Partner
participant K as Klarna
P->>K: Integrate with SIWK through Web SDK
K->>P: Render SIWK Button
C->>K: Click on SIWK Button
K->>K: Open popup OR redirect to login page
K->>C: Login Page
C->>K: Login to Klarna<br/>Klarna user account
K->>K: Flow completed with success or failure
alt if flow is opened in redirect mode
K->>P: Redirect to Partner's redirect_url
Note over K,P: Partner's redirect page will need to have the<br/>Web SDK integrated to handle the callback
K->>K: Klarna SDK handles the redirect back
end
alt if login is successful
K->>P: trigger `klarna.Identity.on("signin")` callback with tokens
else if login is not successful
K->>P: trigger `klarna.Identity.on("error")` callback with error
end
Quick Start
The simplest and fastest way to start using Sign in with Klarna is to use the minimal template below.
This guide applies to the PUBLIC client type. For clients set to CONFIDENTIAL, refer to the next section.
Basic example: assume that the following two files are served from the Partner's web server.
MARKUP
1
2
3
4
5
6
7
8
9
10
<html>
  <head>
    <script type="module">
        <!--
           1. Import the Klarna.mjs SDK and initialize
           with your clientId
        -->
        const { KlarnaSDK } = await import("https://js.klarna.com/web-sdk/v2/klarna.mjs");
        const klarna = await KlarnaSDK({
clientId: "[YOUR CLIENT ID]",For confidential client
The
CLIENT_ must also be obtained.MARKUP
1
2
3
4
5
6
7
8
9
10
<html>
<head>
<script type="module">
<!--
1. Import the Klarna.mjs SDK and initialize
with your clientId
-->
const { KlarnaSDK } = await import("https://js.klarna.com/web-sdk/v2/klarna.mjs");
const klarna = await KlarnaSDK({
clientId: "[YOUR CLIENT ID]",After obtaining the code response, pass it to the server to perform the token exchange. The following JavaScript snippet demonstrates how to send a request to the token endpoint for the exchange:
JAVASCRIPT
1
2
3
4
5
6
7
8
9
10
// An example of the request to exchange for the token.
const { URLSearchParams } = require('url');
const fetch = require('node-fetch');
const encodedParams = new URLSearchParams();
encodedParams.set('grant_type', 'authorization_code');
encodedParams.set('client_id', '[YOUR CLIENT ID]');
encodedParams.set('client_secret', '[YOUR API KEY]');
encodedParams.set('code', 'krn:login:eu1:code:eed137f6-8f06-4791-8180-576a89e....');IMPORTANT: Why is the callback page needed?
Sign in with Klarna ideally starts in a popup window to avoid users leaving the merchant's website. However, due to various reasons popup windows can be blocked. Having a
redirect callback page is therefore REQUIRED to allow users to continue the sign in flow when the popup is blocked. The callback.html template provided in the example above can be used.Integration requirement
To successfully implement REDIRECT mode, the following prerequisites must be met:
- The redirect URL must match exactly with one of the URLs allowlisted for the client.
- The redirect URL must be either passed to the
buttonmethod with the redirectUri property orklarna-identity-buttonelement withdata-redirect-uriattribute. - The redirect URL page must contain the Web SDK and an event handler for
signinmust be registered.
Understanding the interaction modes
The Sign in with Klarna flow can be initiated in two main modes: DEVICE_BEST or REDIRECT.
DEVICE_BEST (default)
DEVICE_BEST allows the Web SDK to automatically decide the most suitable mode, based on the user's device configurations. For instance, the Web SDK may opt for a REDIRECT if popup blockers are enabled or the page is loaded in a web frame.
By default, DEVICE_BEST mode starts the flow in a popup window for web browsers. This is ideal for merchants who do not want their customers to leave their website. However, if the popup is blocked, the Web SDK switches to REDIRECT mode and the user is redirected to the login page on the current tab.
REDIRECT
REDIRECT mode redirects the user to the login page on the current tab. The user is then redirected back to the merchant's redirect callback page at the end of the sign in flow with Authorization tokens or OAuth2Error parameters.Initialising the Web SDK programmatically
Note that the Web SDK script can also be loaded without the dataset attributes and the
init method can be used to initialise the Web SDK.JAVASCRIPT
1
2
3
4
5
6
7
<script type="module">
    const { KlarnaSDK } = await import("https://js.klarna.com/web-sdk/v2/klarna.mjs");
    const klarna = await KlarnaSDK({
        clientId: "[YOUR CLIENT ID]",
    });
</script>
Identity API Overview
After initialising the Web SDK, all Sign in with Klarna related APIs are found under the
Identity namespace.See all details on WebSDK specifications
Displaying the Sign in with Klarna Button
The Web SDK provides a flexible API that allows merchants to integrate Sign in with Klarna based on their preference.
1. Using the default Sign in with Klarna button
The Web SDK provides a default button that has all functionalities built-in and styled based on official Klarna design guidelines.
1.1. Using
The Web SDK registers a custom web component klarna-identity-button that renders the Sign in with Klarna button where it is mounted.
MARKUP
1
2
3
4
5
6
7
<klarna-identity-button
  id="klarna-identity-button"
  data-scope="openid offline_access payment:request:create profile:name"
  data-redirect-uri="http://localhost:3000/callback.html"
  data-locale="en-GB"
  ></klarna-identity-button>
1.2. Creating the button programmatically
The Web SDK provides the
button method that allows the Sign in with Klarna button to be created and mounted programmatically.JAVASCRIPT
1
2
3
4
5
6
7
8
9
const siwkButton = klarna.Identity.button({
    id: "klarna-identity-button",
    scope: "openid offline_access payment:request:create profile:name",
    redirectUri: "http://localhost:3000/callback.html",
    locale: "en-GB"
});

siwkButton.mount("#button-container");
Recommended for integration
If the
button method is called more than once with the configuration object, multiple button instances are created. When more than one button is not needed, ensure the button method is only called once.Multiple button instances
When multiple buttons are needed, ensure an
id attribute is provided to each button instance.Retrieve existing button instance
A string button id can be provided to the button method to retrieve an existing button instance. For more information, see the Identity API Overview > Type Definitions.
2. Using a custom Sign in with Klarna button
When a merchant wants to use a custom button matching with Klarna's but also with their own design guidelines, they can use the attach method that is provided by the Web SDK. The attach method registers the necessary event handlers to start the sign in flow.
Refer to the Custom button article for essential design considerations.
JAVASCRIPT
1
2
3
4
5
6
7
8
9
10
const siwkButton = klarna.Identity.button({
    id: "klarna-identity-button",
    scope: "openid offline_access payment:request:create profile:name",
    redirectUri: "http://localhost:3000/callback.html",
    locale: "en-GB"
});

// notice, we are using the `attach` method
// and providing a button id instead of a container id
siwkButton.attach("#merchants-custom-button-id");Events
SDK Events
The Web SDK Identity API can emit two events:
signin and error, which can be handled as follows:JAVASCRIPT
1
2
3
4
5
6
7
8
9
10
// 1. Listen for `signin` event to receive signin response object
klarna.Identity.on("signin", async (signinResponse) => {
    console.log(signinResponse);
});

// 2. Listen for `error` event to handle error object
klarna.Identity.on("error", async (error) => {
    console.log(error);
});
Button Events
Sign in with Klarna buttons can emit two events:
ready and click.JAVASCRIPT
1
2
3
4
5
6
7
8
9
10
// Please notice that we can retrieve the button instance,
// by providing the button instance id to the button method
const siwkButton = klarna.Identity.button("klarna-identity-button");

siwkButton.on('ready', async () => {
    // handle ready event
})

siwkButton.on('click', async () => {
// handle click eventScopes and Claims
The table below lists the available scopes and how they correspond to claims and permissions.
| Scope | Claims | Type | Can be toggled off |
|---|---|---|---|
| profile:name | given_name | string | No |
| profile:name | family_name | string | No |
| profile:email | string (Email) | No | |
| profile:email | email_verified | boolean | No |
| profile:phone | phone | string (E. 164) | No |
| profile:phone | phone_verified | boolean | No |
| profile:date_of_birth | date_of_birth | string (ISO 8601) | Yes |
| profile:billing_address | street_address | string | Yes |
| profile:billing_address | street_address2 | string | Yes |
| profile:billing_address | postal_code | string | Yes |
| profile:billing_address | city | string | Yes |
| profile:billing_address | region | string | Yes |
| profile:billing_address | country | string (ISO 3166-1 alpha-2) | Yes |
| profile:shipping_address | street_address | string | Yes |
| profile:shipping_address | street_address2 | string | Yes |
| profile:shipping_address | postal_code | string | Yes |
| profile:shipping_address | city | string | Yes |
| profile:shipping_address | region | string | Yes |
| profile:shipping_address | country | string (ISO 3166-1 alpha-2) | Yes |
| profile:national_id | national_id | string | Yes |
| profile:country | country | string (ISO 3166-1 alpha-2) | Yes |
| profile:locale | locale | string (IETF BCP 47) | Yes |
Required scopes for full functionality
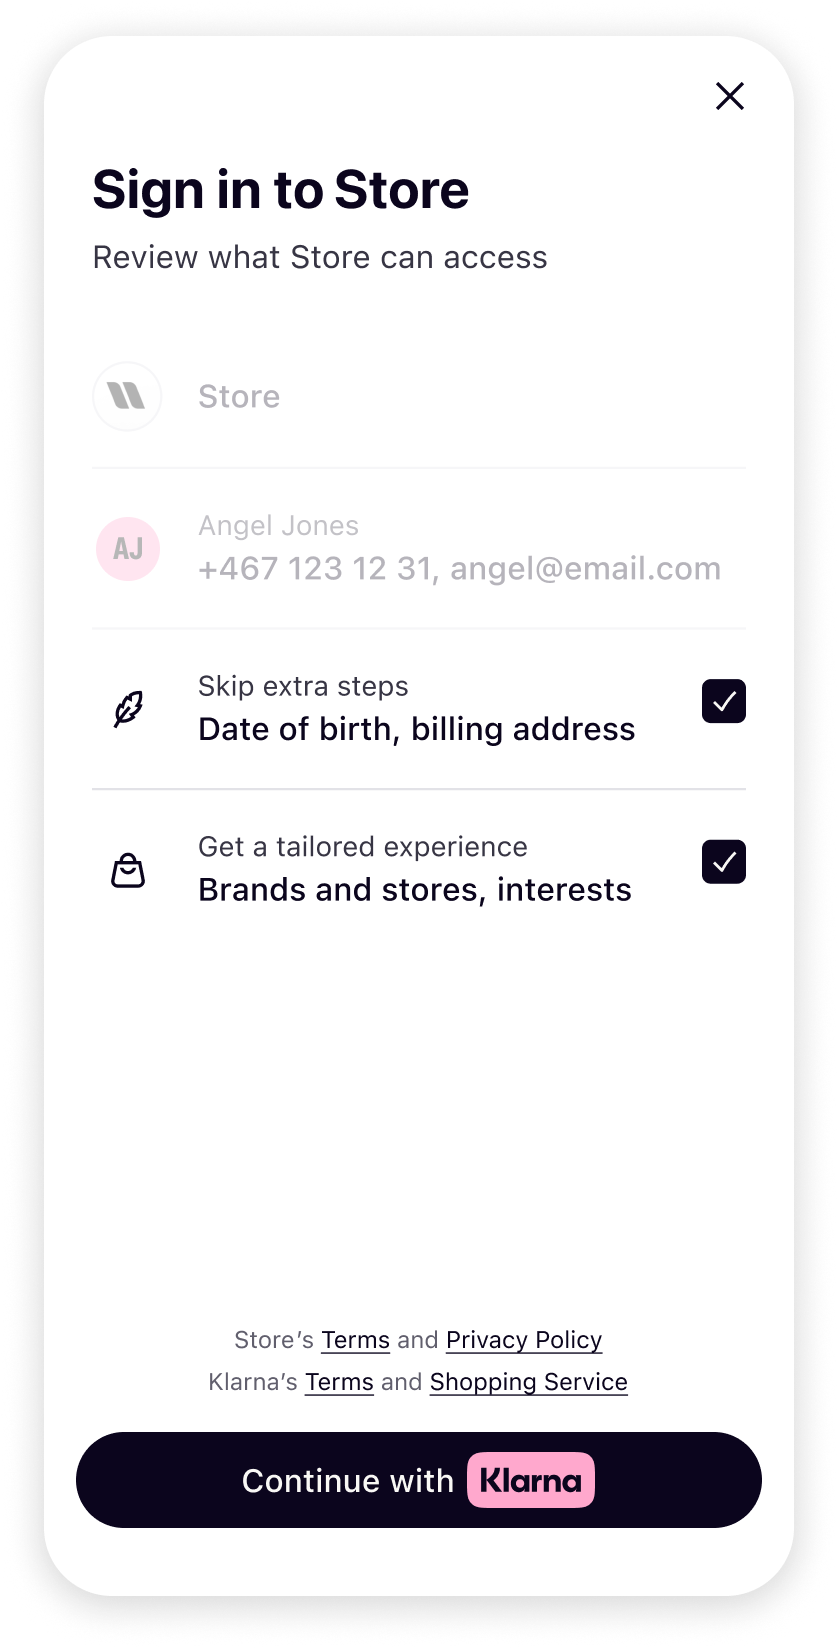
Always add the 'openid', 'offline_access', and 'customer:login' scopes to receive full functionality of Sign in with Klarna.
The mock-ups below show how users will see required versus optional scopes when entering the Sign in with Klarna flow.
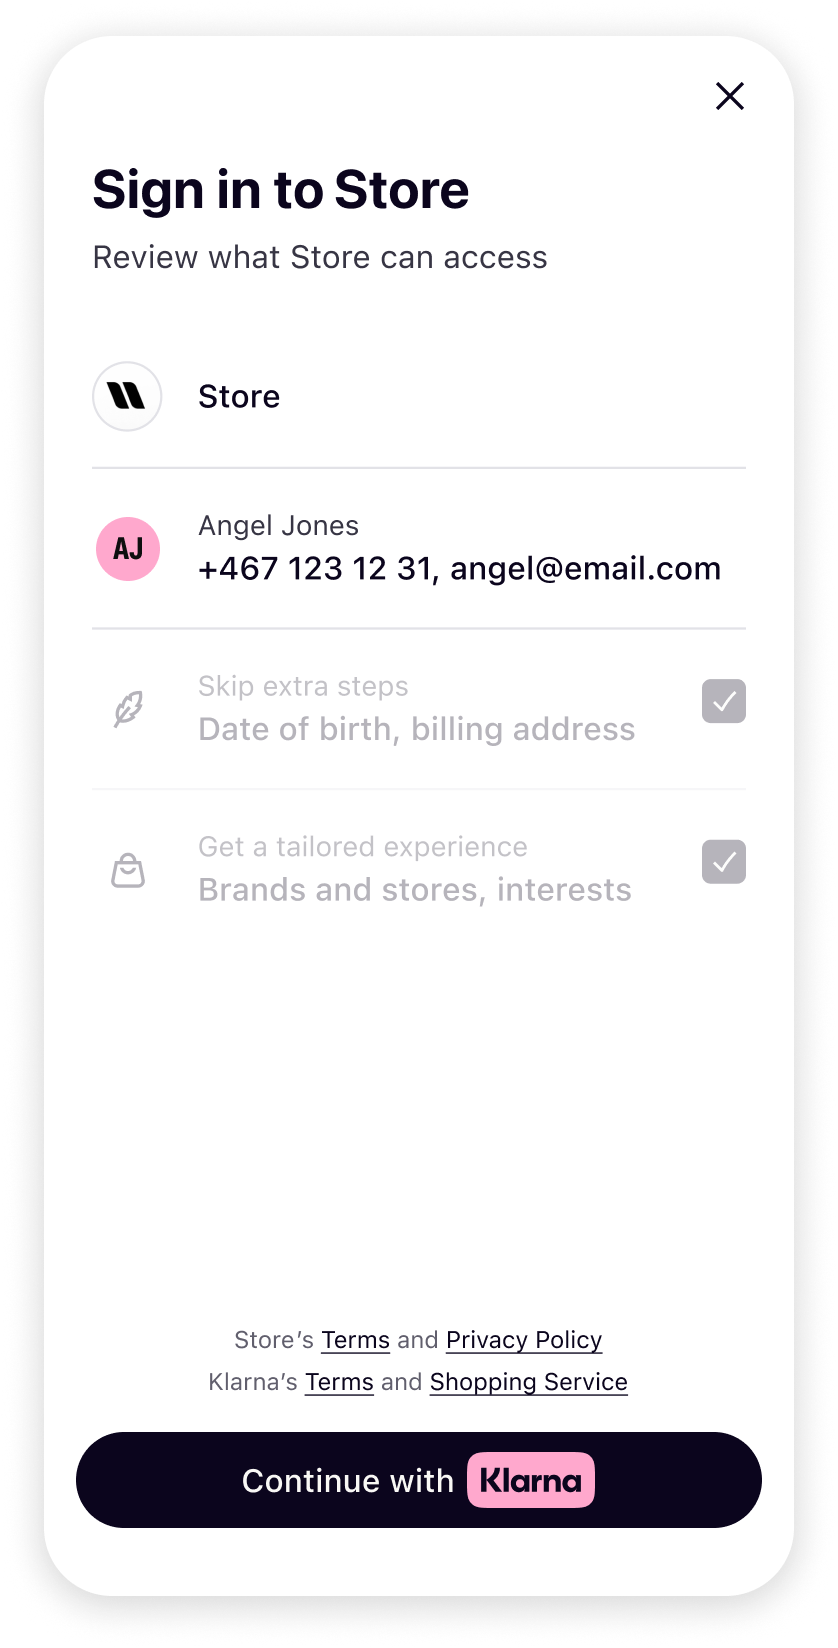 |  |
| Required scopes in Sign in with Klarna | Optional scopes in Sign in with Klarna |
Finalizing the sign in flow
Before using data from the
id_, it must be validated. More about this under Token Validation.Upon completing the sign-in process, use a specific
claim (such as phone, email, or national identification number for Sweden) as a unique customer identifier.Ensure the following scenarios are handled to provide seamless integration:
- New Users: When the identifier does not match any existing user in the database, check whether the customer consented to share all the requested data. When additional information is required, show the onboarding UI after the Sign in with Klarna flow. Once onboarding is complete, create a new user account using the data returned from Klarna and store the
user_within that record.account_ linking_ refresh_ token - Existing Klarna Users: In cases where the identifier is already linked to a Klarna account, Sign in with Klarna always returns fresh customer data. Update the user record with this data to keep the information in the database current.
- Existing Users: For users already in the database but not connected to Klarna, consider these approaches:
| Account Merging | User Confirmation for Merging |
|---|---|
Merge the account automatically, add customer data from Klarna that was missing in the existing record, and save the user_ in it | Prompt the user to confirm whether they wish to merge their existing account. If yes, follow *Account Merging *above. If not, ask them to login with a different Klarna account |
By carefully managing these scenarios, Partners can provide a fluid and integrated user experience, leveraging the comprehensive data and functionality offered through Sign in with Klarna.
Managing data and tokens after integration
Refresh token
To receive a new set of tokens, perform a token exchange through a
POST request to the token endpoint. Always save the new refresh_ in the database, since the old one becomes invalid.
Access tokens are opaque: they are random strings that cannot be decoded. Validation should only be performed on the id_. The access token does not need to be validated before being used.JAVASCRIPT
1
2
3
4
5
6
7
8
9
10
const data = new URLSearchParams();

data.append("refresh_token", "<your refresh token>");
data.append("client_id", "<your client id>");
data.append("grant_type", "refresh_token");

fetch("https://login.klarna.com/eu/lp/idp/oauth2/token", {
  method: "POST",
  headers: {
Request user data
At any point in time, the latest user data can be requested using the /userinfo endpoint. It requires a valid access_token as authorization and returns the same data structure available in the id_token. Always retrieve a fresh access_token, as described in the Refresh token section, before calling /userinfo. Using a new
access_ in /userinfo ensures the most up-to-date information about the customer is returned without requiring them to re-login.JAVASCRIPT
1
2
3
4
5
6
fetch("https://login.klarna.com/eu/lp/idp/userinfo", {
  headers: {
    Authorization: "Bearer <access token>",
  }
})
Token Validation
Validate
id_: validating an OAuth 2.0 token using a JWKS (JSON Web Key Set) endpoint, such as the one provided by Klarna, involves several steps. The following outlines how to proceed:- Retrieve JWKS: make an HTTP GET request to the JWKS endpoint to retrieve the public keys. The response should be a JSON object containing a keys array.
- Parse JWKS: parse the JSON response to extract the keys, which will be in JWK (JSON Web Key) format.
- Decode access token: decode the access token to obtain the header, which contains the Key ID or kid, which identifies the key within the JWKS that was used to sign the token.
- Find the signing key: use the kid from the token's header to find the corresponding key in JWKS.
- Verify signature: use the public key to verify the signature of the access_token. This usually requires using a library that supports JWT and the necessary cryptographic algorithms.
- Check claims: when the signature is valid, check the claims in the verified token to ensure they meet the requirements. Verify expiration time, audience, issuer, and the signing algorithm.
Node sample implementation
JAVASCRIPT
1
2
3
4
5
6
7
8
9
10
const jwt = require('jsonwebtoken');

const jwkToPem = require('jwk-to-pem');
async function verifyTokenWithJWKS(token, jwksUri) {
  try {
    // Decode the token header without verification
    const { header } = jwt.decode(token, { complete: true });
    if (!header || !header.kid) {
      throw new Error('Invalid token header');
}Optimize the User Experience
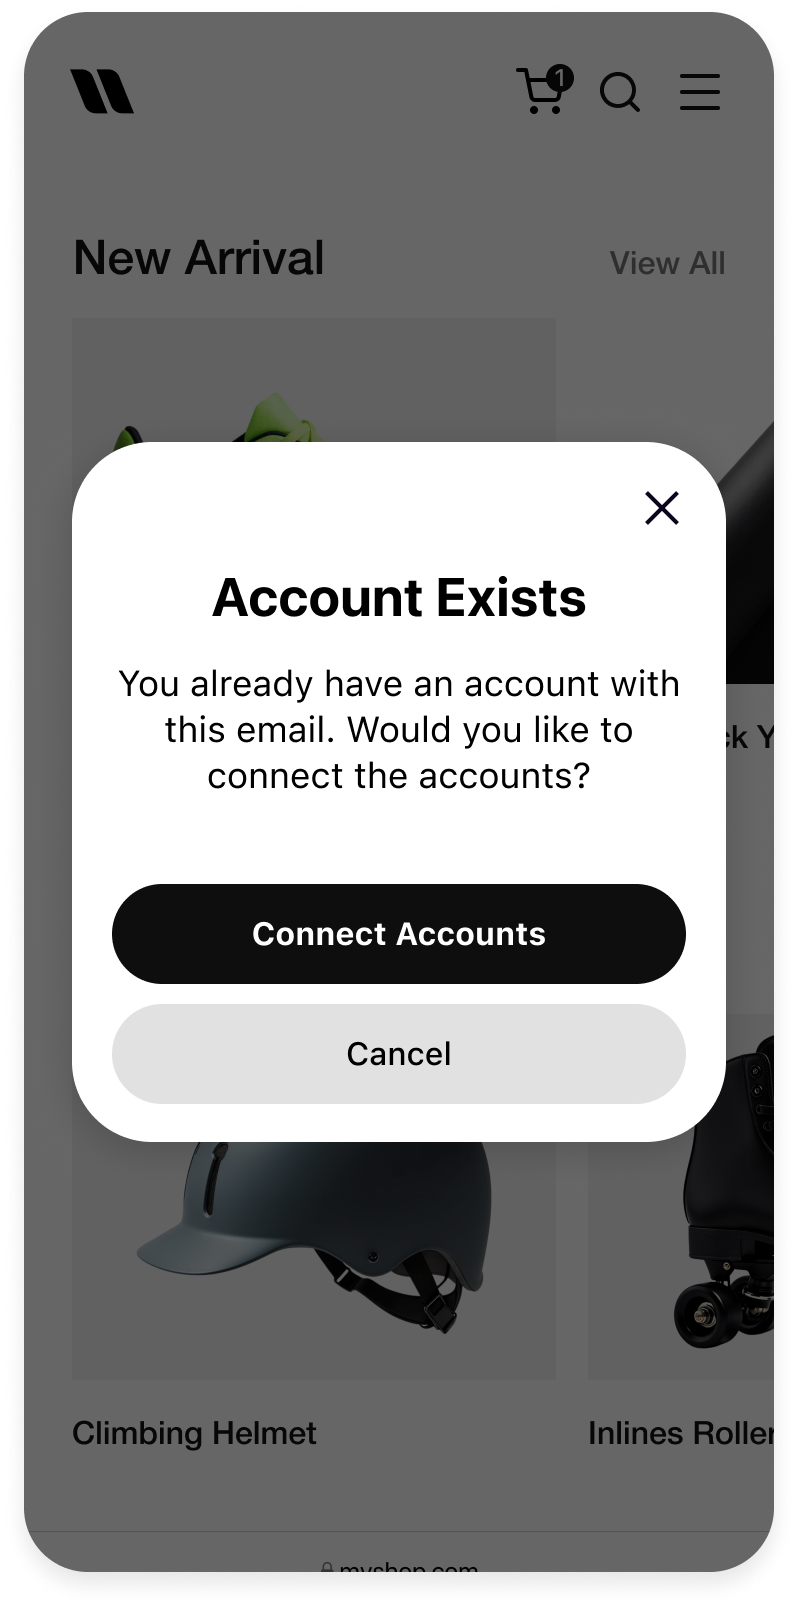
Connect existing accounts
When the customer already has an account with the Partner, based on an identifier match such as email or mobile number, and now wants to sign in with Klarna, the connection of the accounts should be allowed by merging the accounts in the back-end, rather than rejecting the sign in.
This allows the customer to sign in to the connected account using both sign in methods.
|  |
Use of Customer Data
Once a customer has logged in with Klarna, always use the data collected to improve the customer's experience. Using the available information to pre-fill the customer's profile and checkout form fields is a basic way to leverage the data available:
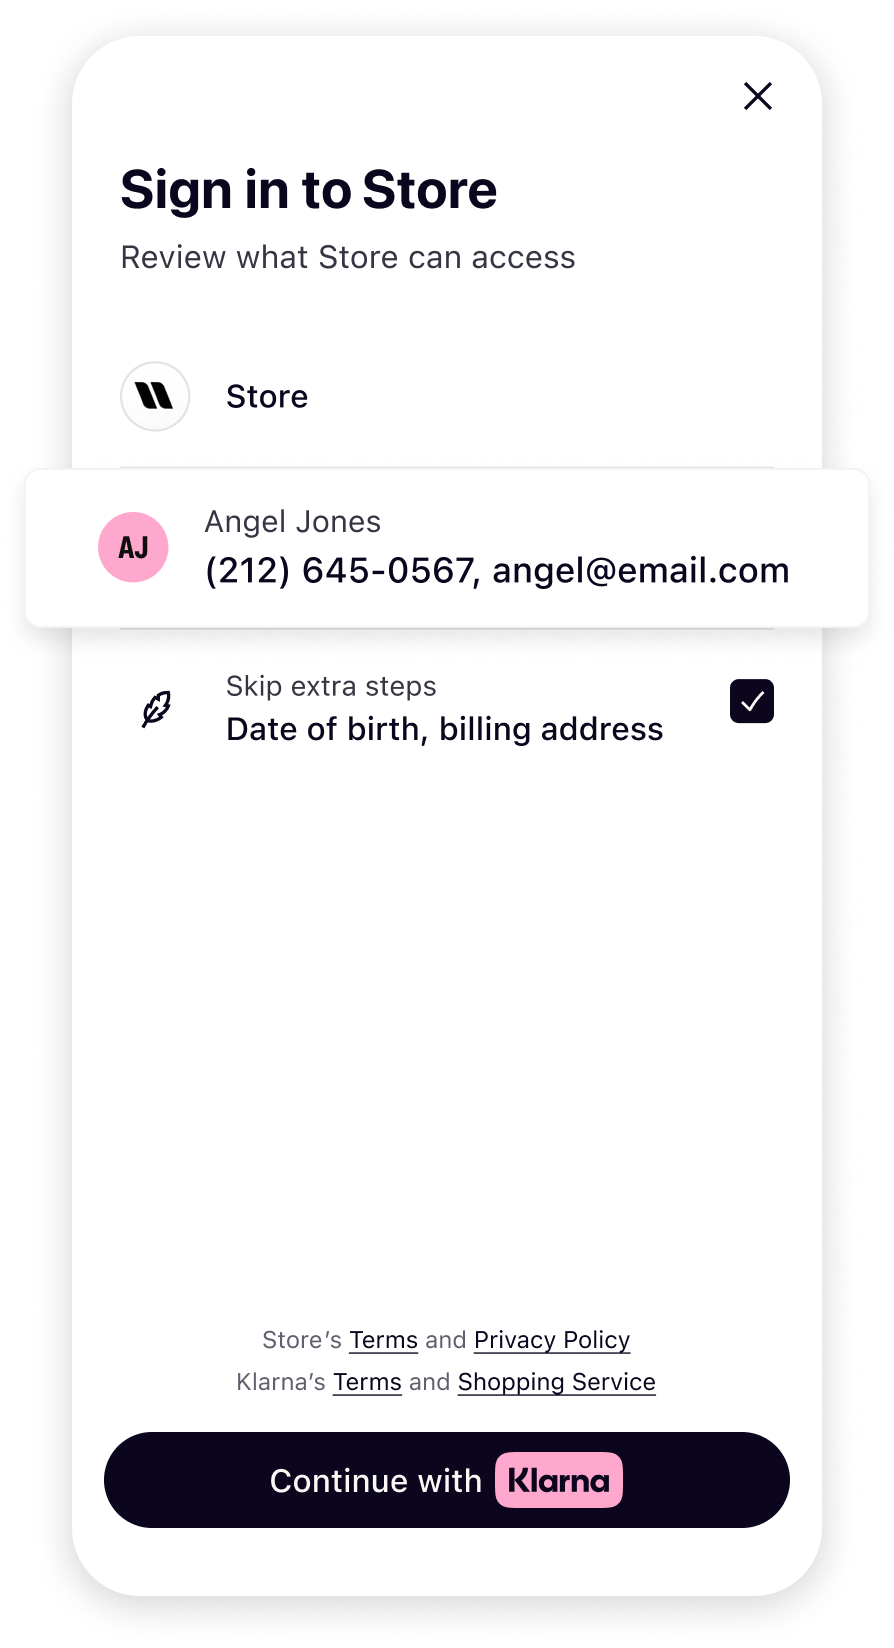 | 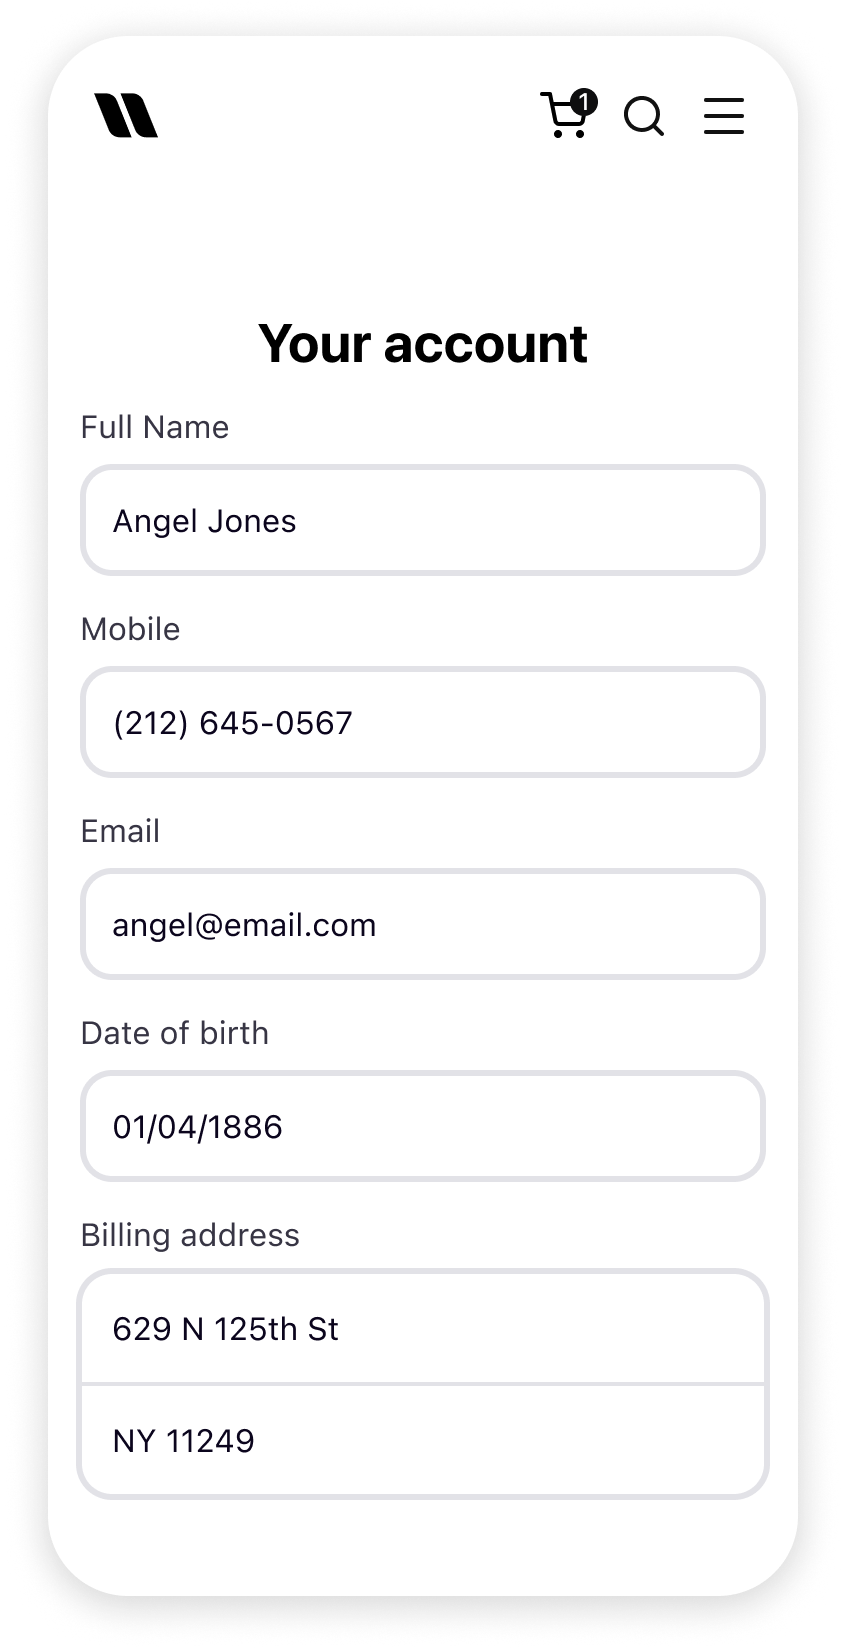 | 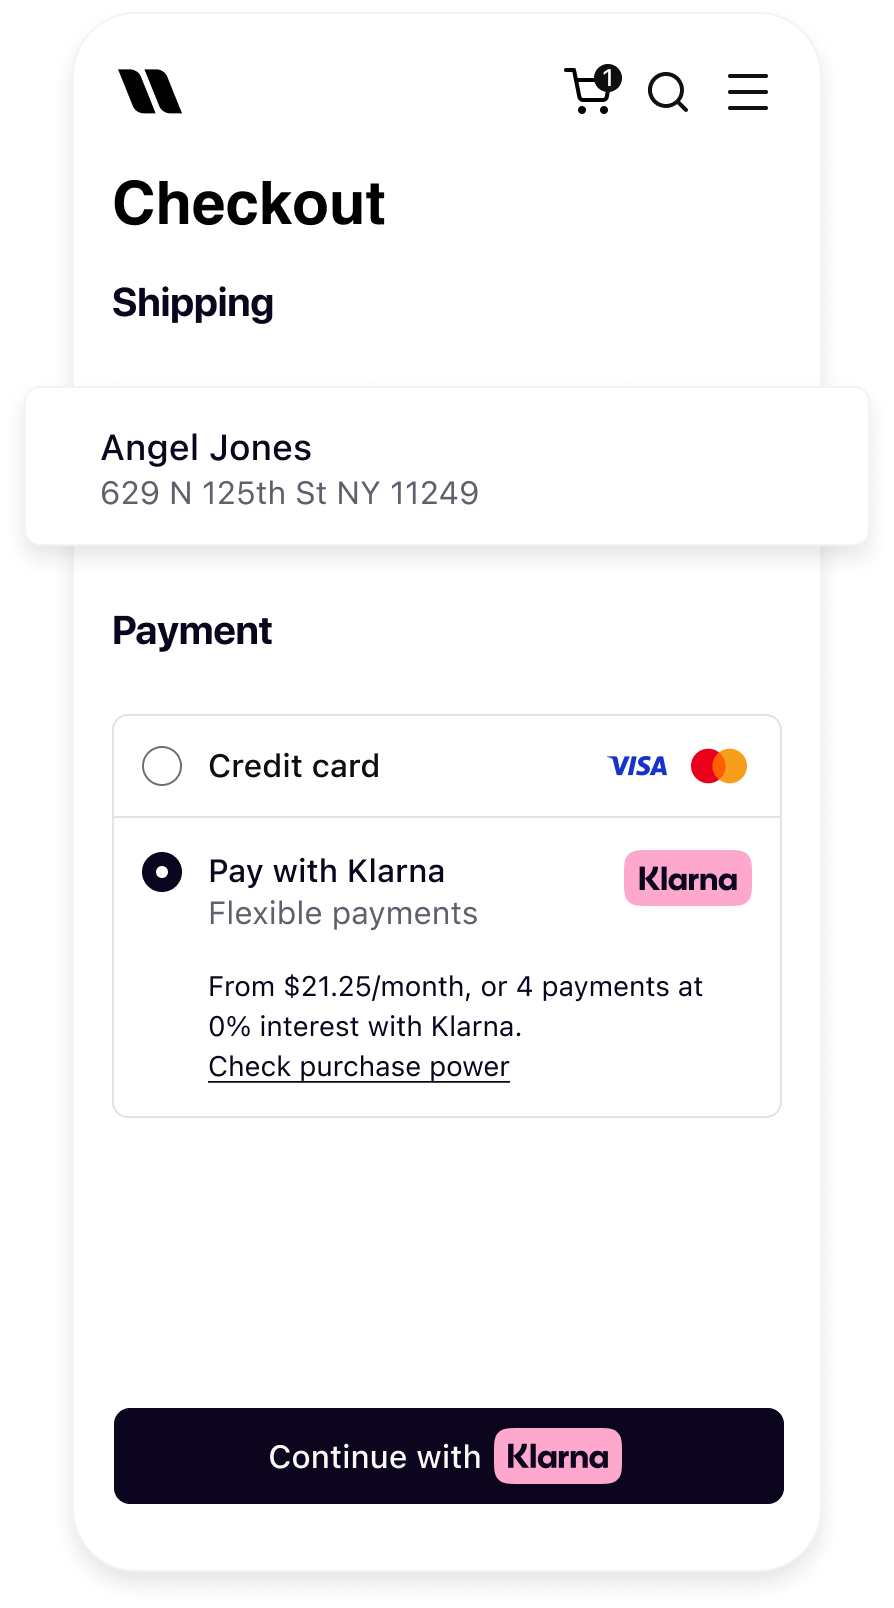 |
| Data collection | Pre-filled profile | Pre-filled checkout |
Optimize the customer's first-time experience
Once the customer creates their account and is redirected back to the Partner's platform, they should be taken directly to a personalized shopping experience, in a logged-in state.
| 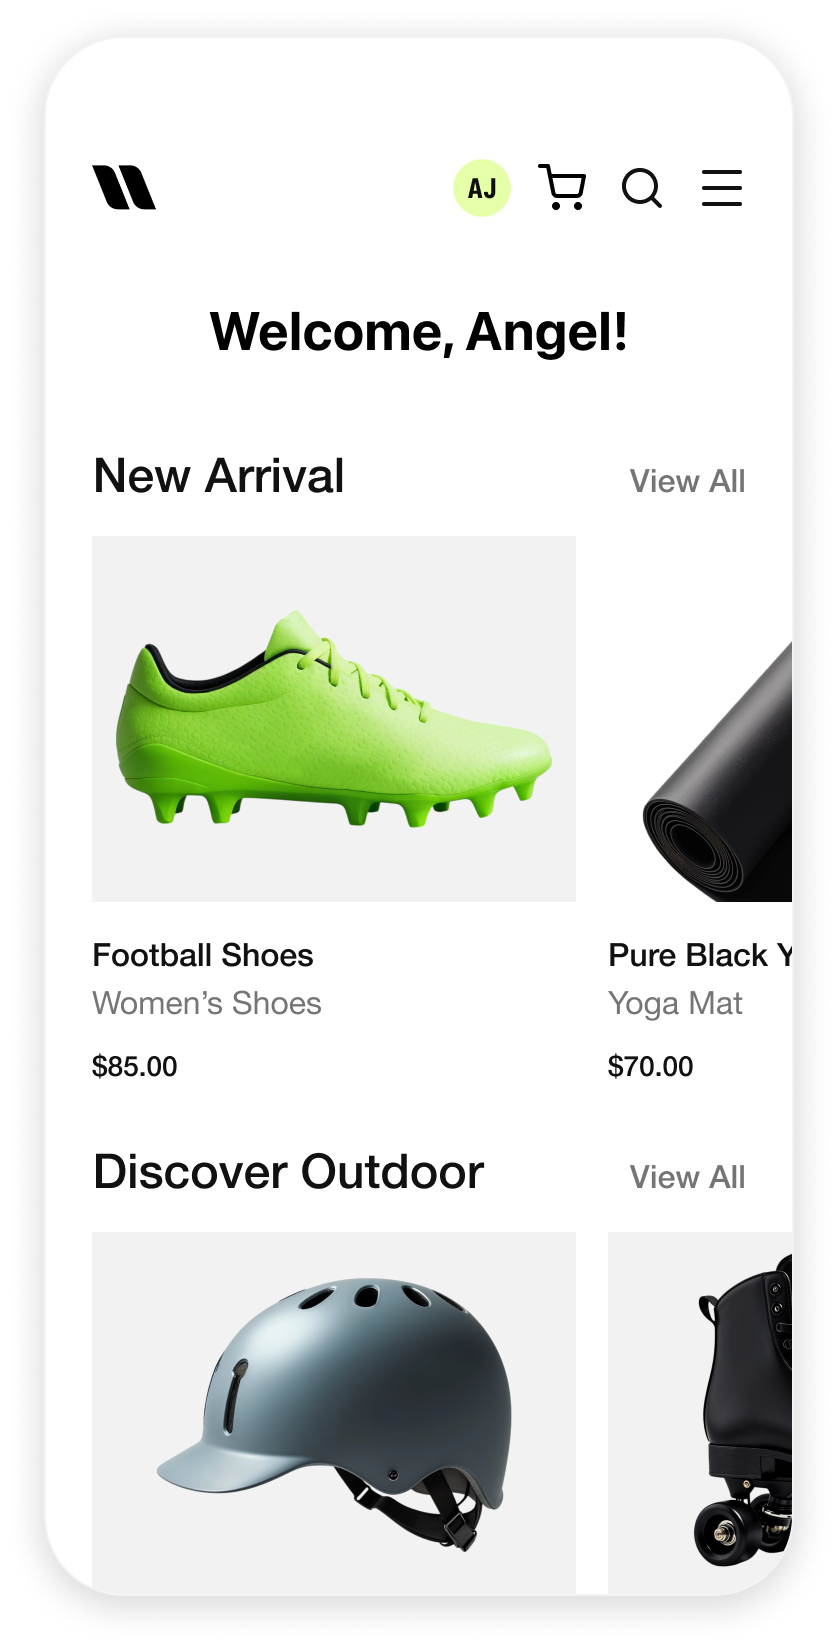 |
| Customer signs in with Klarna account | Personalized shopping experience |
There should not be any additional steps after the customer creates their account, especially asking for the same information that was provided during account creation, or asking to verify already verified details.
Enable account creation on post-purchase
After a purchase is complete, many customers find it valuable to have a way to track their order and access their purchase history. For those who have checked out as guests, the order confirmation page provides a seamless opportunity to invite them to create an account using Sign in with Klarna.
By implementing the Sign in with Klarna button on the success page, Partners can offer customers a quick and secure way to set up an account after their purchase, enhancing the post-purchase experience and opening up new engagement opportunities.
Creating an account provides customers with access to past and future purchases, personalized order updates, and exclusive promotions. For the Partner's business, it enables deeper customer relationships, higher retention rates, and more effective communication. Adding SIWK at this critical touchpoint can make a significant impact on customer loyalty and engagement.
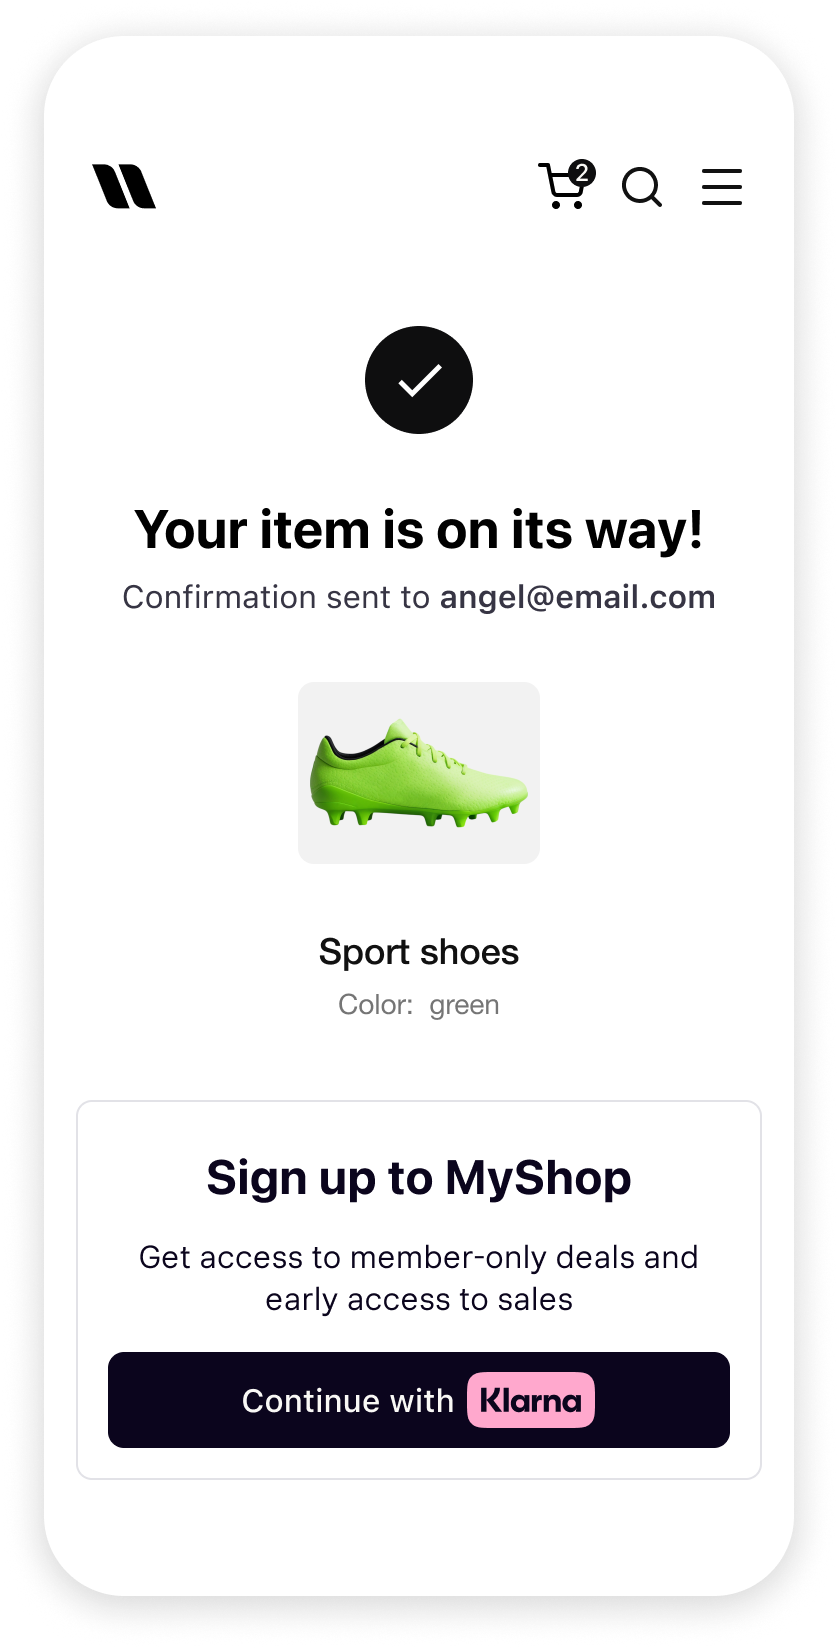 | | 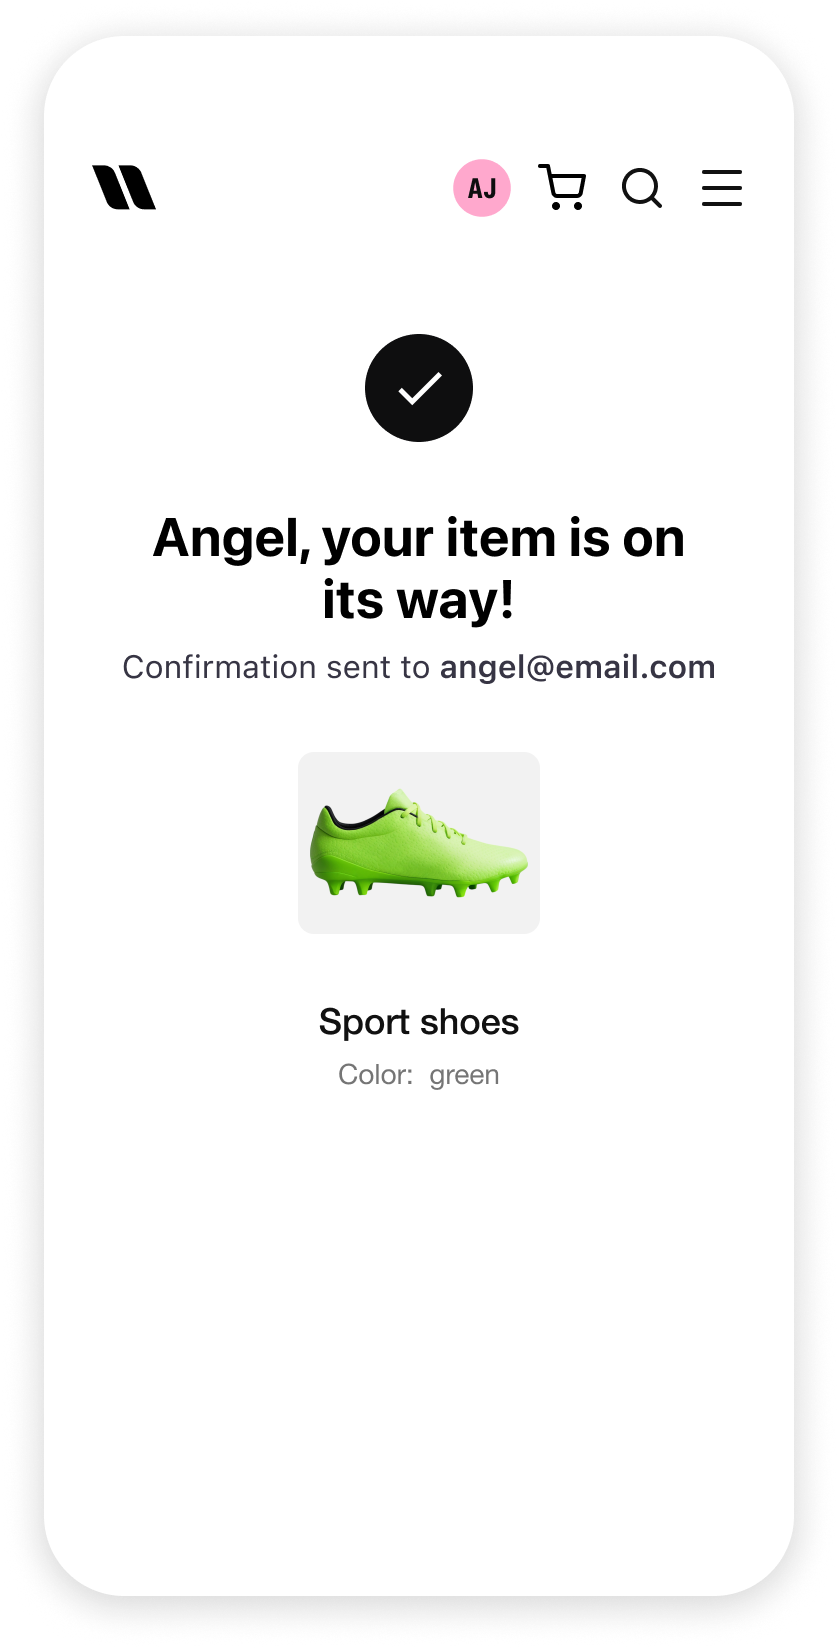 |
| Invite customers to create an account using Sign in with Klarna | Customer sets up an account | Personalized experience with access to more data |
Enabling account creation on the order confirmation screen allows customers to:
- Track orders easily: once logged in, customers can monitor their purchases, delivery status, and history from a single account.
- Enjoy a personalized experience: customers can receive targeted promotions and order updates.
- Save time: returning customers do not need to re-enter information in future transactions.
For the Partner's business, this is a unique opportunity to convert guest customers into account holders, increasing the chance of future interactions and building a stronger, loyal customer base.
To integrate the Sign in with Klarna button on the order confirmation screen, embed the SIWK button in a visible, user-friendly location on the order confirmation (or "thank you") page where customers land after completing a purchase. A sample prompt could be, "Create an account to view your order history and enjoy a more personalized experience.".
Use Klarna's SDK to authenticate users via the SIWK button. Once authenticated, check for an existing user account. When none exists, prompt the customer to complete the quick setup to create a new account tied to their recent purchase.
Finally, provide a confirmation message once the account is created, such as "Your account has been set up! You can now track this and future orders in your account.". Consider redirecting users to their new account profile or order history page to immediately reinforce the benefits of having an account.
Jump to section...