How to install Express Checkout in PrestaShop
This guide explains how to add Express Checkout to your PrestaShop store.
Express Checkout gives your customers a fast and convenient way to purchase with Klarna. Partners who have integrated Express Checkout see an improved customer experience, increased conversion rates, and a higher AOV.
To learn more about Express Checkout, refer to the product documentation.
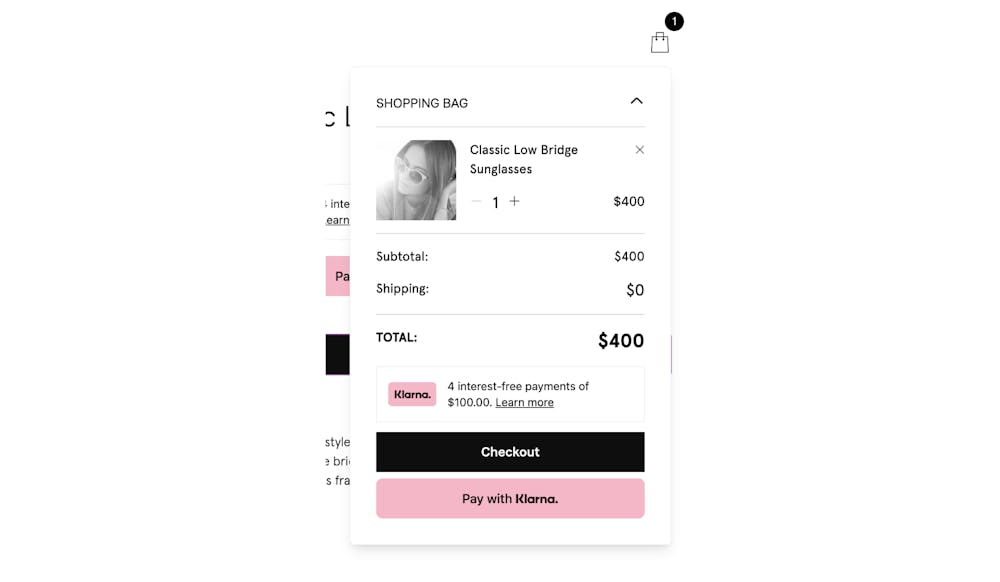
When you add Express Checkout to the store, a button prompting customers to pay with Klarna is displayed in checkout.
To be able to offer Express Checkout, you have to first enable Klarna in your PrestaShop store by installing the Klarna Payments for Prestashop plugin.
To install Express checkout in a PrestaShop store, follow these steps:
1. In the Klarna Merchant portal, go to Payment settings > Client identifiers. There you can click Manage origins and enter your store's URL in the Register new origin section.
2. Proceed to add your store's URL to the allow list (Register new origin) and to generate the Klarna Client ID.
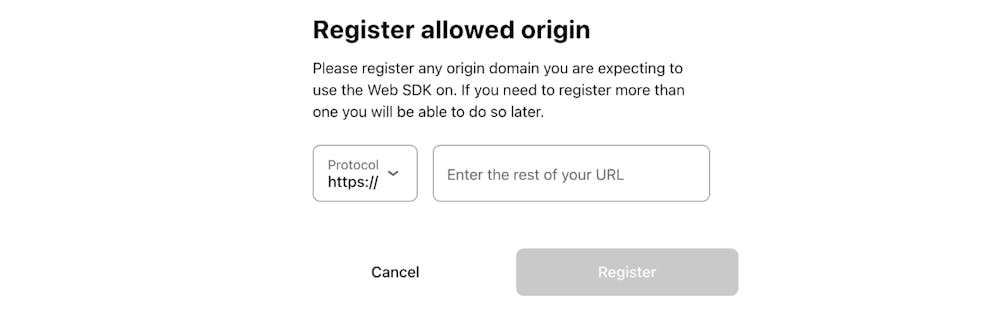
To use Express Checkout in your Prestashop store, you have to allowlist your store's URL.
Later, you can also manage your Allowed origins for your integrations in Payment settings > Client identifiers. There you can click Manage origins and enter your store's URL in the Register new origin section.

You can manage allowed origins in Payment settings.
3. Click on Generate client identifier in the Client identifiers menu, then copy it from the Client ID field.
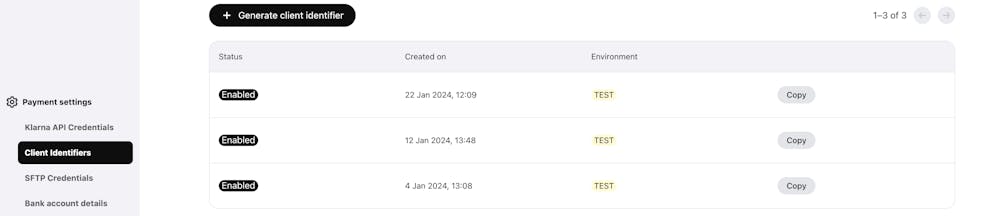
The generated Client ID links your Klarna merchant account to your PrestaShop store.
4. In your PrestaShop shop, go to the "Klarna Express Checkout" tab, paste the Client ID you copied in the Klarna Client Identifier field. Make sure the ID doesn't contain any quotes or whitespace.
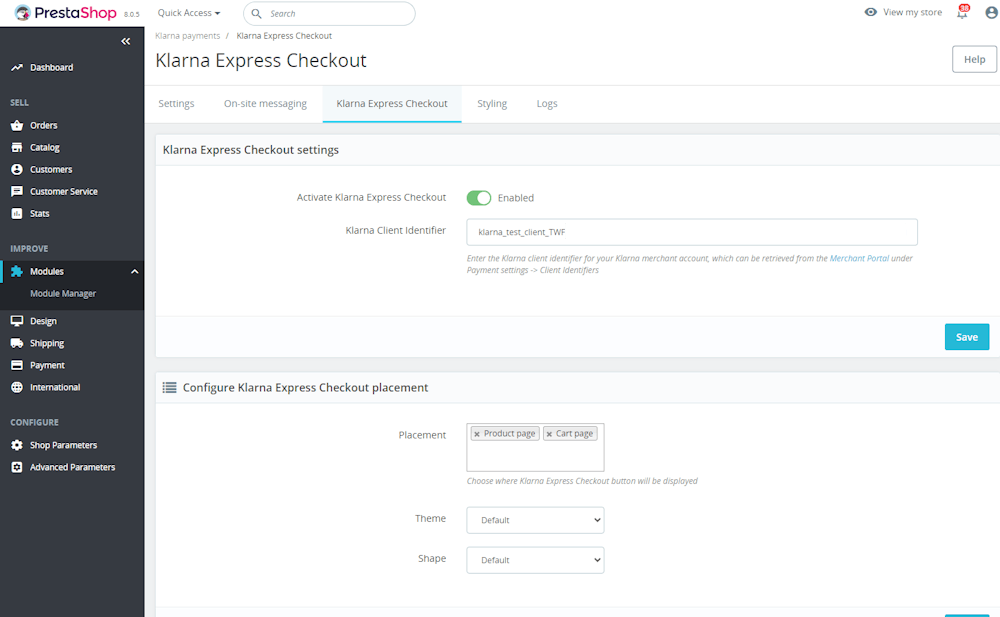
A screenshot of the PrestaShop Klarna payment plugin settings for Klarna Express Checkout.
5. Toggle the Activate Klarna Express Checkout option to enable the Express Checkout in the Klarna payments plugin.
6. From the Theme dropdown, select a theme for the button — default, light, or dark.
7. From the Shape dropdown, select a shape for the button — default, rectangle, or pill.
You can customize the Express Checkout button by choosing a theme and a shape. The styling options are available in the PrestaShop plugin settings.
The theme defines the button’s color. You can choose 1 out of 3 themes:
- Default theme with the button displayed in pink
- Dark theme with the button displayed in black
- Light theme with the button displayed in white
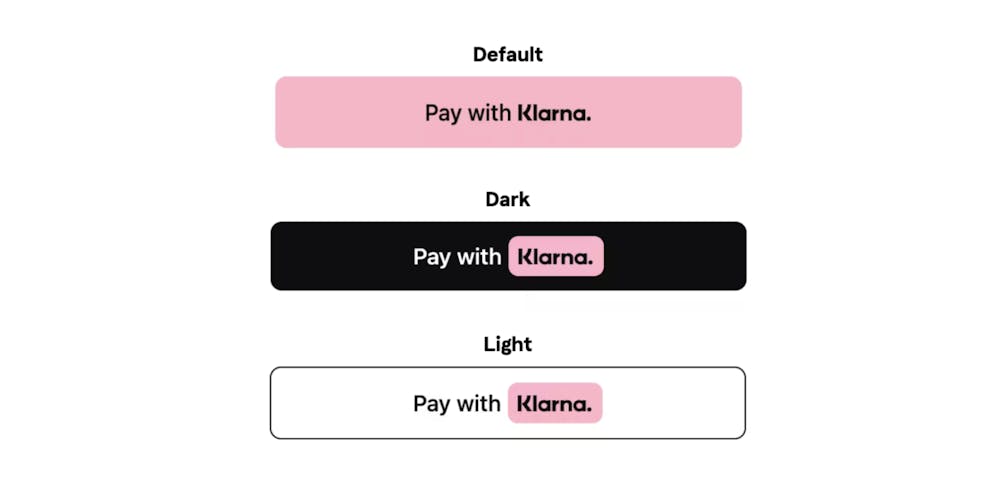
The available color themes for the Klarna Express Checkout button are default, dark, and light.
You can choose from 3 different shapes for the button:
- Default: a rectangular button with rounded corners
- Rect: a rectangular button with sharp corners
- Pill: a pill-shaped button with smooth corners
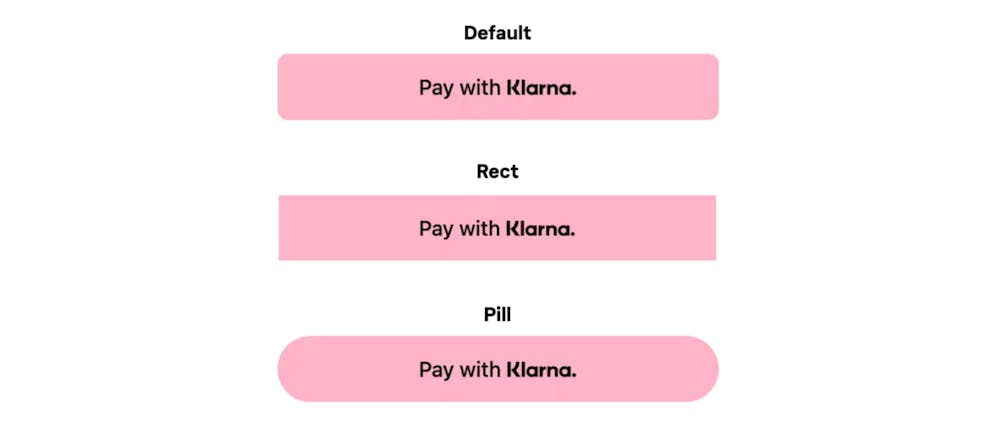
The available shapes for the Klarna Express Checkout button are default, rectangular, and pill.