

Klarna WebView - Android
In this step-by-step guide you will learn how to integrate the KlarnaStandaloneWebView into your Android app.
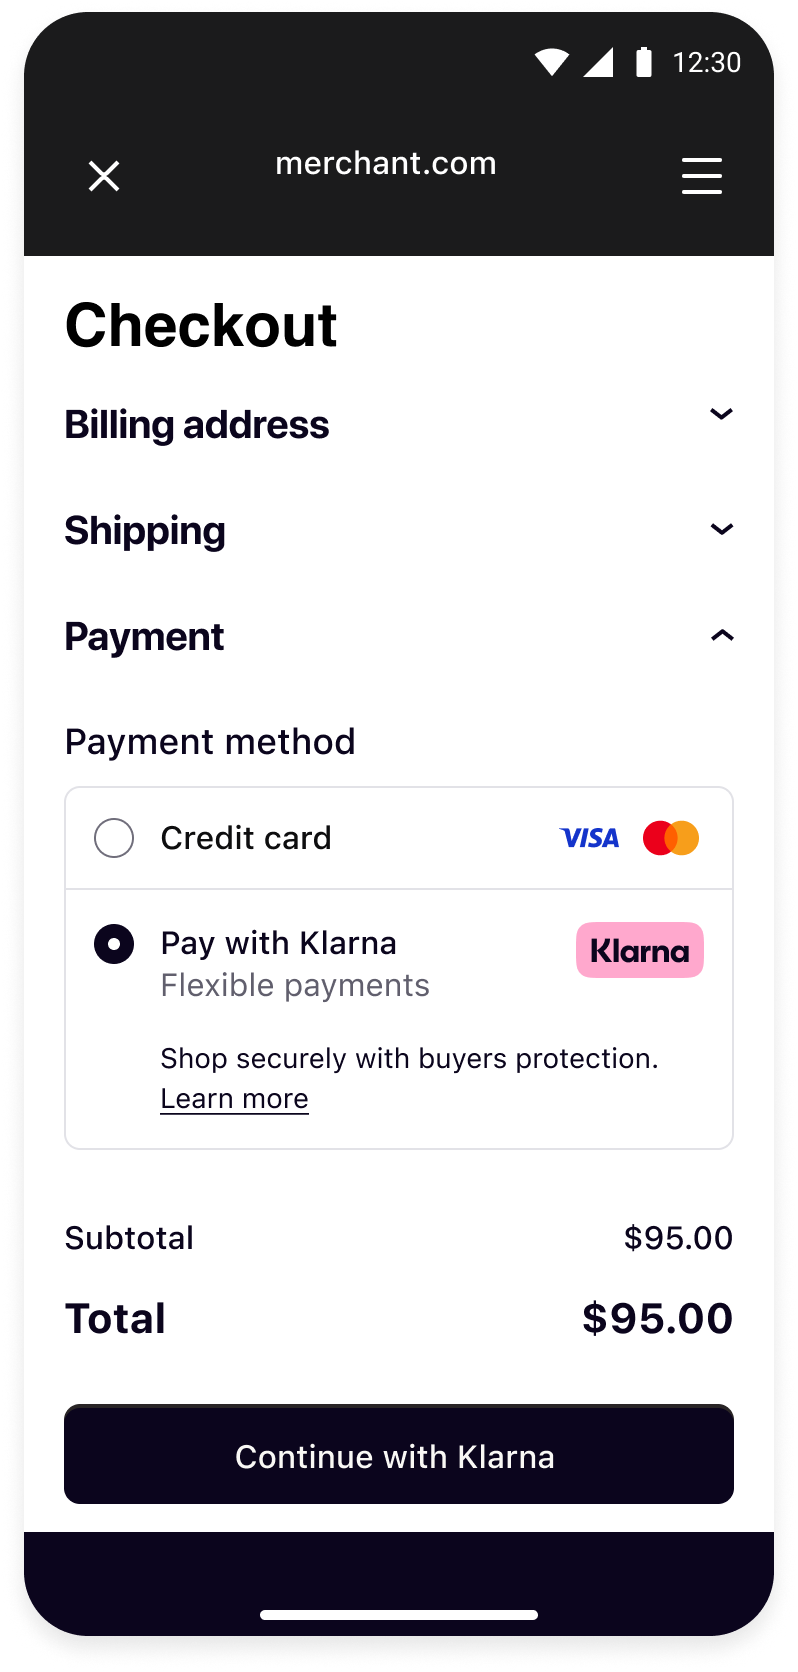 |  | 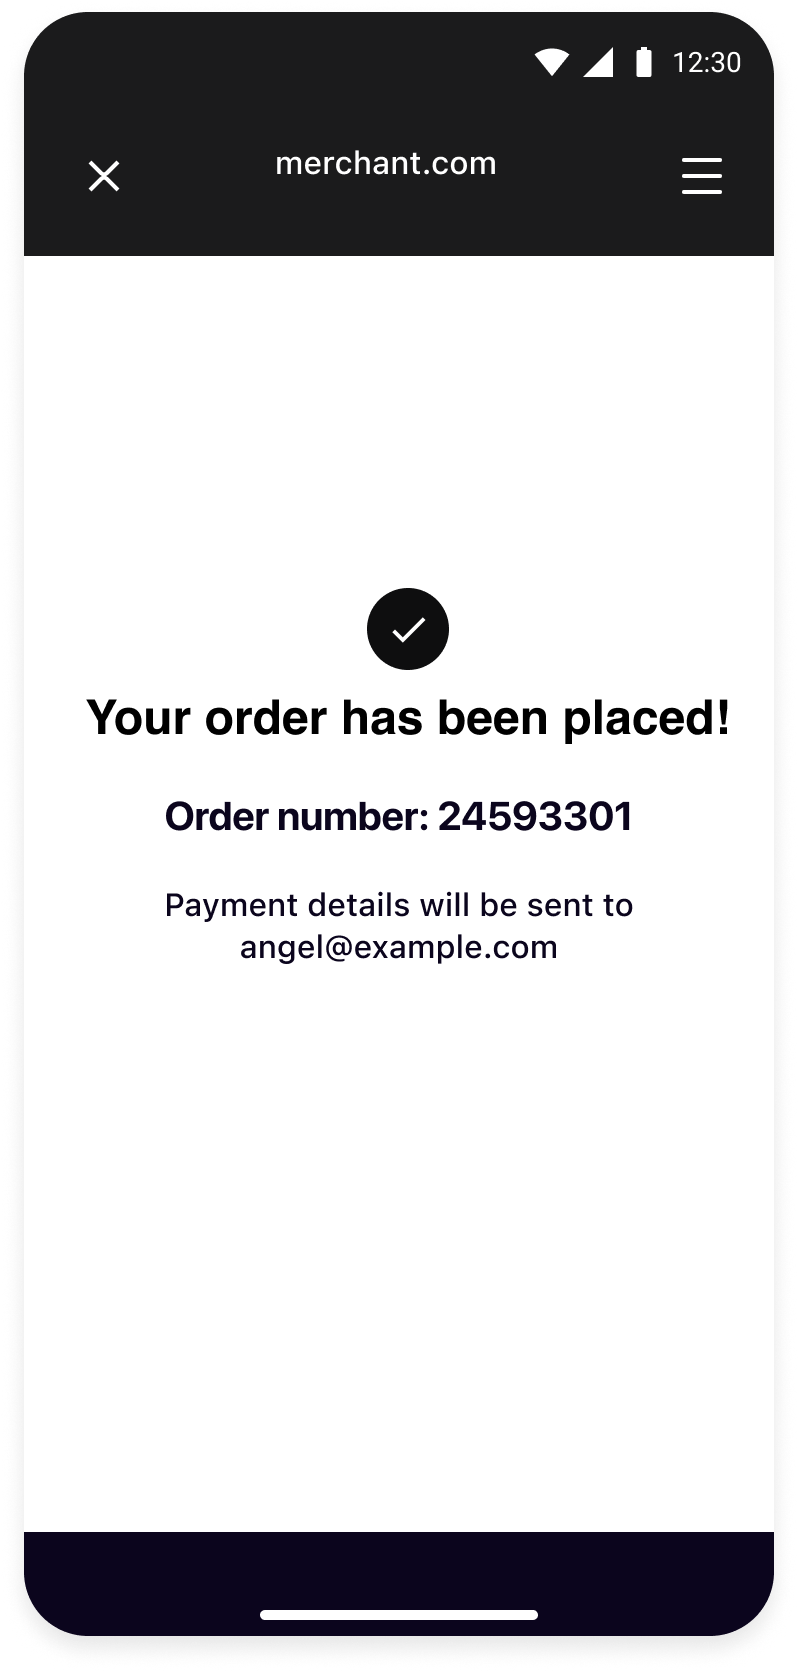 |
| Your checkout screen when Klarna is selected as payment method. | Klarna purchase flow starts when customer confirms to Continue with Klarna. | Your order confirmation screen after a successful payment. |
Integration Steps
- Prepare: Make sure you have a web checkout integrated with Klarna Payments.
- Set up your app (Mobile App): Set up return URL to your application.
- Present your web checkout (Mobile App): Present you web checkout using System WebView.
Prepare
This guide will lead you through all the steps required to accept Klarna Payments in your mobile app using your web integration. At the end, you will be able to accept payments with Klarna with very few native changes.
This guide assumes that you already have a web checkout integrated with Klarna Payments and you intend to use it in your mobile application.
If you haven't done such web integration, we suggest you to check the web payments documentation.
Set up your app
Import the SDK
Add the Repository
Add the Klarna Mobile SDK maven repository:
Add the Dependency
Add the SDK as a dependency to your app:
To read more about Mobile SDK versioning policy, check out this section.
Set up your app
Return URL
Klarna purchase flows might require authorizations in other applications (e.g. bank apps) or do a handover to the Klarna app. In such cases, a return URL to your application ensures seamless return to the flow in your app, hence setting up a return URL is required. It is expected that redirects to this URL should only open your application without any changes in the UI state, ensuring the customer can continue the flow prior to external navigation.
You can read more about how deep links and intent filters work on the Android Developers site.
You can set up a Return URL app scheme for your application by registering an intent-filter for the Activity you integrated Klarna, in your app’s AndroidManifest.xml:
<application...>
    <activity...>
        <intent-filter>
            <action android:name="android.intent.action.VIEW" />
            <category android:name="android.intent.category.DEFAULT" />
            <category android:name="android.intent.category.BROWSABLE" />
            <data android:scheme="<your-custom-scheme>" />
            <data android:host="<your-custom-host>" />
        </intent-filter>
    </activity>
</application>
Important: Construct the return URL string passed to Klarna by combining the attributes defined in your <intent-filter>'s <data> tags, following the standard URL format: <your-custom-scheme>://<your-custom-host>
override fun onNewIntent(intent: Intent?) {
    super.onNewIntent(intent)
    intent?.data?.let { uri ->
        if (uri.host == Contants.klarnaReturnUrl.host && uri.host == Contants.klarnaReturnUrl.host) {
            // This is a return URL for Klarna – skip deep linking
            return
        }
        // This was not a return URL for Klarna
    }
}
The hosting Activity should be using launchMode of type singleTask or singleTop to prevent a new instance from being created when returning from an external application.
Present your web checkout
Create Klarna WebView
To add the KlarnaStandaloneWebView to your app's layout, there are two distinct ways. The following sections provide a detailed explanation of each approach.
Creating the View from XML
You can add the KlarnaStandaloneWebView to your XML layout as below.
<com.klarna.mobile.sdk.api.standalonewebview.KlarnaStandaloneWebView
    android:id="@+id/webView"
    app:klarnaReturnUrl="..."
    ...
/>
val klarnaWebView = findViewById(R.id.webView)
Creating the View from Code
If you instead want to create the KlarnaStandaloneWebView in code, you can use its constructor to create an instance and then add it to your layout.
val klarnaStandaloneWebView = KlarnaStandaloneWebView(
    context = ...,
    attrs = ...,
    defStyleAttr = ...,
    webViewClient = ...,
    eventHandler = ...,
    environment = ...,
    region = ...,
    theme = ...,
    resourceEndpoint = ...,
    returnURL = ...
)In the following table you can see the parameters that the constructor expects. The required parameters are marked with an asterisk.
| Parameter | Type | Description |
|---|---|---|
| context | Context | The context of the Activity the KlarnaStandaloneWebView is in. |
| attrs | AttributeSet | The AtttributeSet that you usually pass when creating a View from code. Its default value is null. |
| defStyleAttr | Int | An integer value that you usually pass when creating a View from code. Its default value is 0. |
| returnURL | String | The return URL which is used for navigating users back to your app if necessary. |
| webViewClient | KlarnaStandaloneWebViewClient | It's used to receive callbacks from the KlarnaStandaloneWebView. Its default value is null. |
| eventHandler | KlarnaEventHandler | It's used to get notified of Klarna-related events. Its default value is null. |
| environment | KlarnaEnvironment | An enumeration that is used to configure the endpoints and other behaviors that the KlarnaStandaloneWebView will be operating with. Its default value is null which means the environment will be production by default. |
| region | KlarnaRegion | An enumeration that defines the regional API endpoints to which the KlarnaStandaloneWebView will send/receive requests. Its default value is null which means the region will be EU by default. |
| theme | KlarnaTheme | An enumeration that defines the theming for the Klarna-related components that are displayed inside the KlarnaStandaloneWebView. Its default value is null which means it will be light by default. |
| resourceEndpoint | KlarnaResourceEndpoint | An enumeration that defines the cloud provider to which the KlarnaStandaloneWebView will send/receive requests. Please note that this should not be changed or overridden. It's default value is null. |
Load your checkout page
KlarnaStandaloneWebView is just like any other WebView component, thus you can easily load your web checkout or any other web page with it.
klarnaWebView.loadUrl("https://www.merchant.com/checkout") // Load your checkout page where Klarna Payments is integrated
Optional
Additional Methods
As previously mentioned, the KlarnaStandaloneWebView can be perceived as a specialized WebView developed specifically for displaying Klarna-related content. Consequently, it inherits many methods and properties from the standard WebView with the addition of some Klarna-specific methods and properties.
In essence, this means that while the KlarnaStandaloneWebView functions similarly to a typical WebView and maintains its broad functionality, it also includes certain distinct features that cater specifically to the Klarna content, enhancing its usability and performance within a Klarna context.
WebView Methods and Properties
Below is a set of methods from the KlarnaStandaloneWebView that athat are also available in a standard WebView. Please be aware that this list is not comprehensive, serving only as a highlight of commonly shared methods:
loadUrlpostUrlloadDataloadDataWithBaseUrlreloadstopLoadinggoBackgoForwardcanGoBackcanGoForwardclearCache
Klarna-specific Methods and Properties
Below is a set of methods and properties from the KlarnaStandaloneWebView that are Klarna-specific. Please be aware that this list is not exhaustive.
eventHandler: a mutable property that allows setting or getting theKlarnaEventHandler.loggingLevel: a mutable property that allows setting or getting theKlarnaLoggingLevel. You can use this property to set the logging level of theKlarnaStandaloneWebView.productOptions: a mutable property that allows setting the options for some of the Klarna products.sendEvent: a method that can be used to send a message to a Klarna component which is loaded in theKlarnaStandaloneWebView.
Enable logging
The SDK will log events and errors while it’s running, which you can read in logcat console. You can set the logging level for the SDK through the loggingLevel property of integration instance.
klarnaWebView.loggingLevel = KlarnaLoggingLevel.Verbose
KlarnaLoggingLevel
| Value | Description |
|---|---|
| KlarnaLoggingLevel.Off | No logging |
| KlarnaLoggingLevel.Error | Log error messages only |
| KlarnaLoggingLevel.Verbose | Log all messages (debug and error) |
What's next
Klarna Mobile SDK provides a full suite of mobile-first integrations, including Klarna products like:
.png) | .png) | .png) |
| Sign in with Klarna | On-site Messaging | Express Checkout |
- On-site Messaging: Show contextual messaging let your customers know about the available payment options in pre-checkout: click here to learn more.
- Sign in with Klarna: Seamlessly identify and let users login via their Klarna account: click here to learn more.
- Express Checkout: Accelerate your checkout process and boost conversion by offering a one-click checkout, click here to learn more (Mobile SDK support available soon).
Complete your integration with