Integrate using the Web SDK
Follow this guide to integrate On-site messaging using our JavaScript library. Here you can find the steps, examples, and code snippets you require for the integration.
To add On-site messaging to your website, you first need to activate the feature in the Merchant portal. Check that you've all prerequisites covered, then follow the steps outlined in detail below.
If your site's On-site Messaging was set up prior to January 2024, take a look at our guide to migrate to the new WedSDK.
Log in to the Merchant portal using one of the following links:
To try out the feature, perform a test integration in the test (playground) environment, then follow the Step 6 to complete the integration in the live (production) environment.
The changes you make in the playground environment won't impact your production integration.
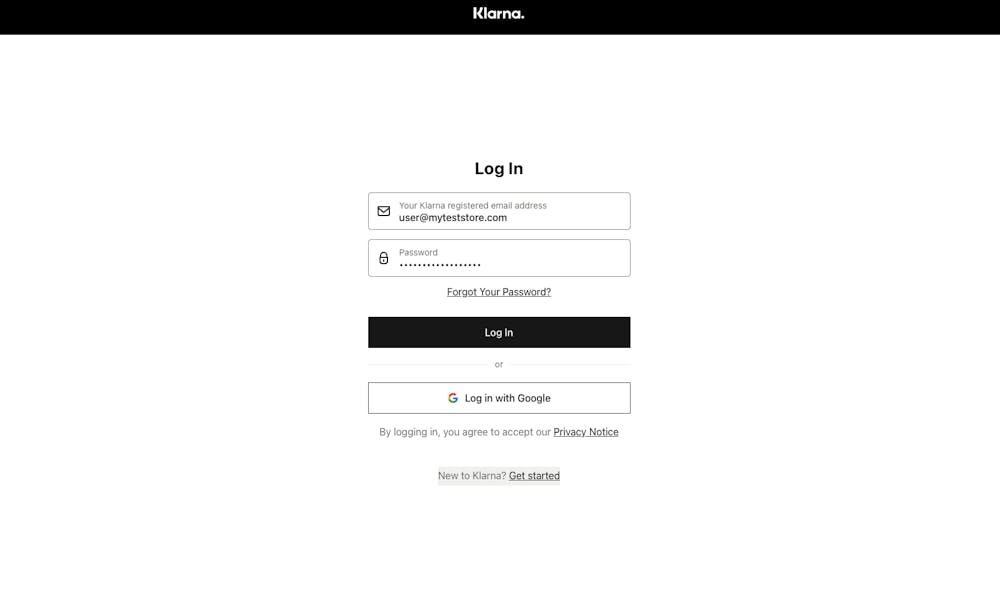
The login screen of the Merchant portal.
Once you're logged in, go to the Conversion boosters section on top or use the On-site messaging shortcut in the Tools section.
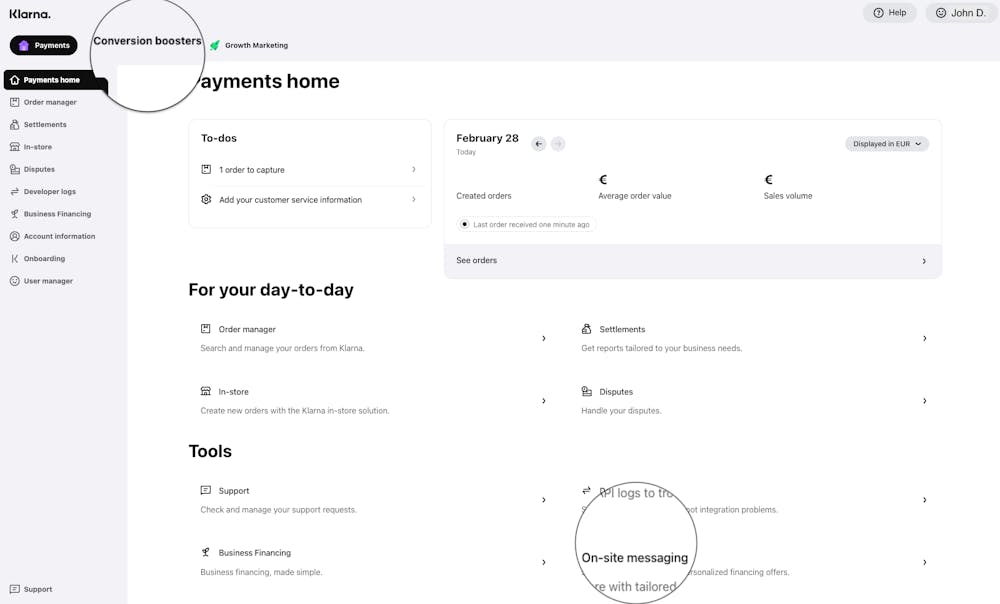
On-site messaging shortcuts in the Merchant portal.
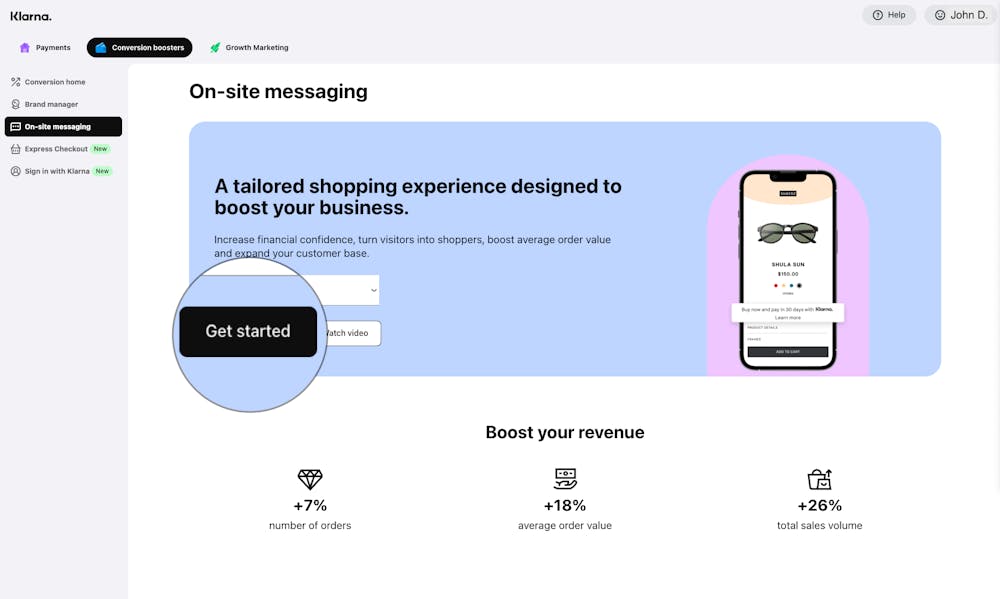
Now you can see the On-site messaging app on the on the sidebar. Select a Store from the drop-down and click on Get started to begin with the activation.
You can now allowlisting the origin domain where our Web SDK will be used.
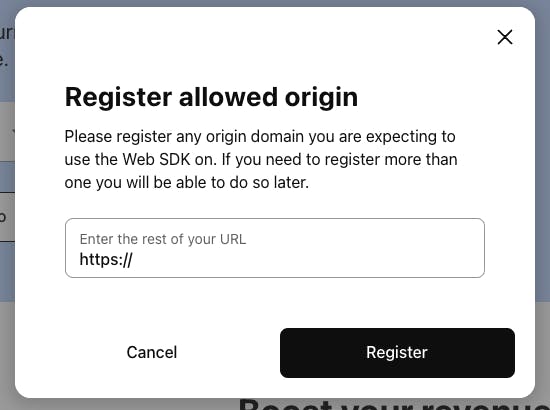
Congratulations! You can now proceed with the implementation of the JavaScript library.
Once you've allowlisted your origin, you will have access to your client identifier and the snippets you need to implement on your website.
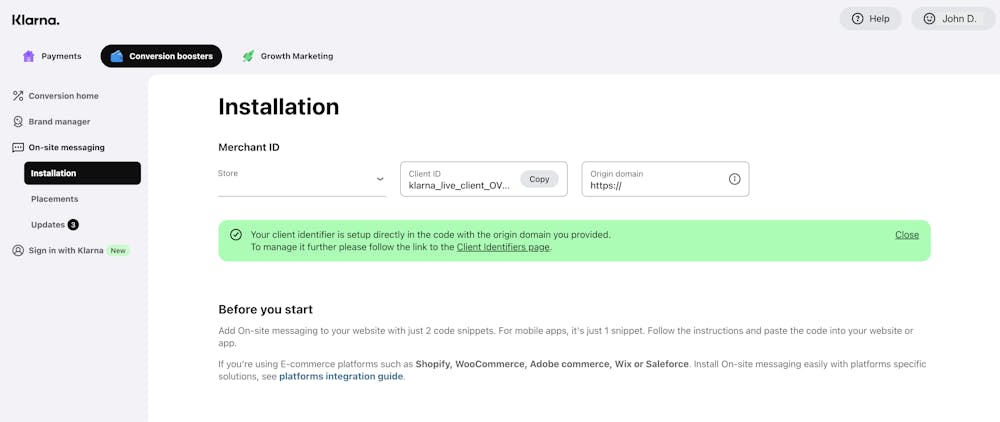
Click on Client Identifiers page to manage them.
In Add installation code, go to Web SDK tab and click Copy to clipboard to copy the JavaScript library code snippet.
This library is the core part of On-site messaging integration as it lets your website communicate with On-site messaging. The library renders the On-site messaging content in the placement tags.
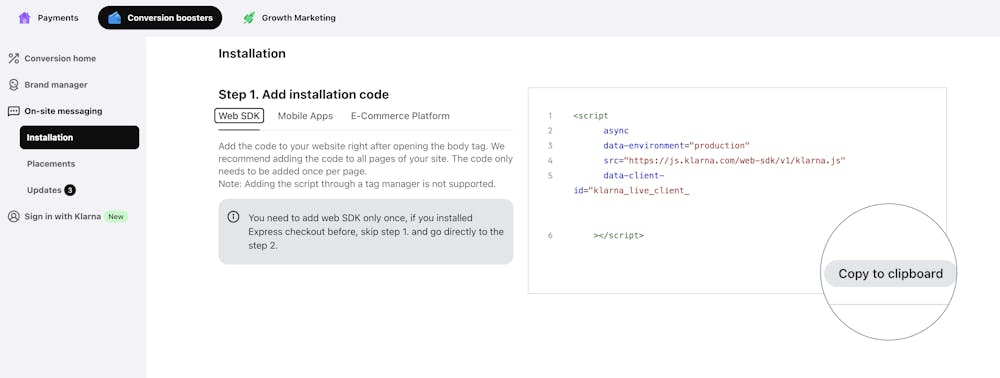
Insert the copied snippet in your website's source code right after the opening <body> tag.
<!DOCTYPE html>
<html>
  <head>
    <title>My store</title>
  </head>
  <body>
    <script
        async
        data-environment="playground | production"
src="https://js.klarna.com/web-sdk/v1/klarna.js"An example of an HTML file with the JavaScript library snippet. You have to copy your own script from the Merchant portal.
You need to add this web SDK only once, if you installed Express checkout before, skip step 2. and go directly to the step 3.
Once you've installed the JavaScript library, it's time to add placements.
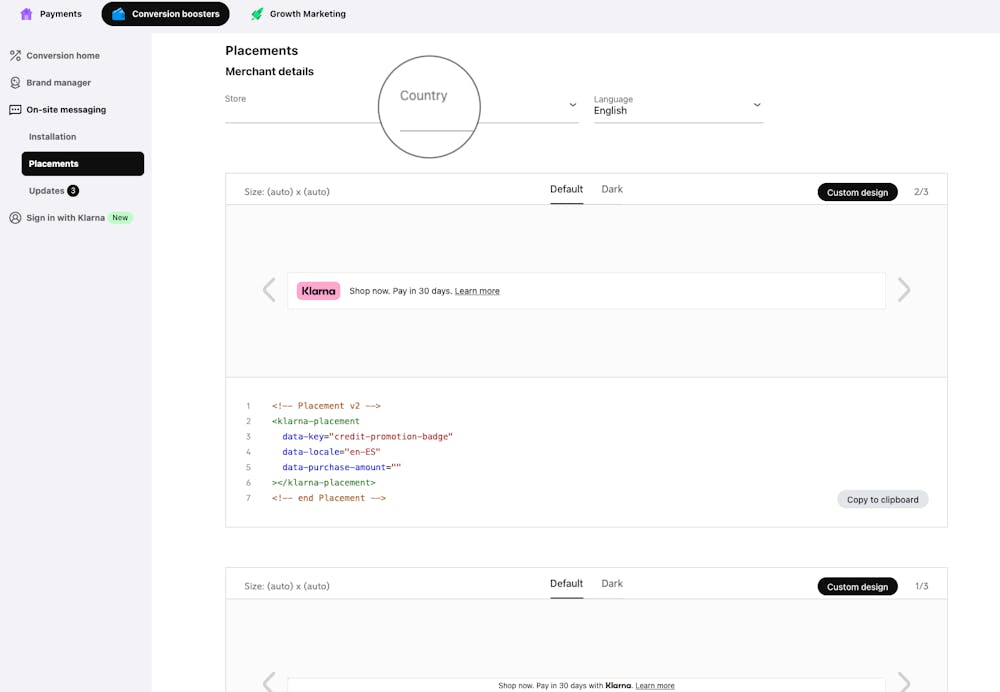
A placement is an HTML tag with all the attributes required to display messaging on your website. You can think of it as the container for the messaging that the JavaScript library delivers. Some placements require the purchase amount to display the message.
You can get the tag through the Merchant portal. Go to On-site messaging and click Placements. You'll see all the placements available for your configuration.
If you're promoting Klarna in multiple countries use the Region & Country dropdowns to view the relevant placement for each country.
You can also check the tags out in the Placements section of our documentation.
If you're testing your integration in the test (playground) environment, a TEST DRIVE badge appears on each placement.
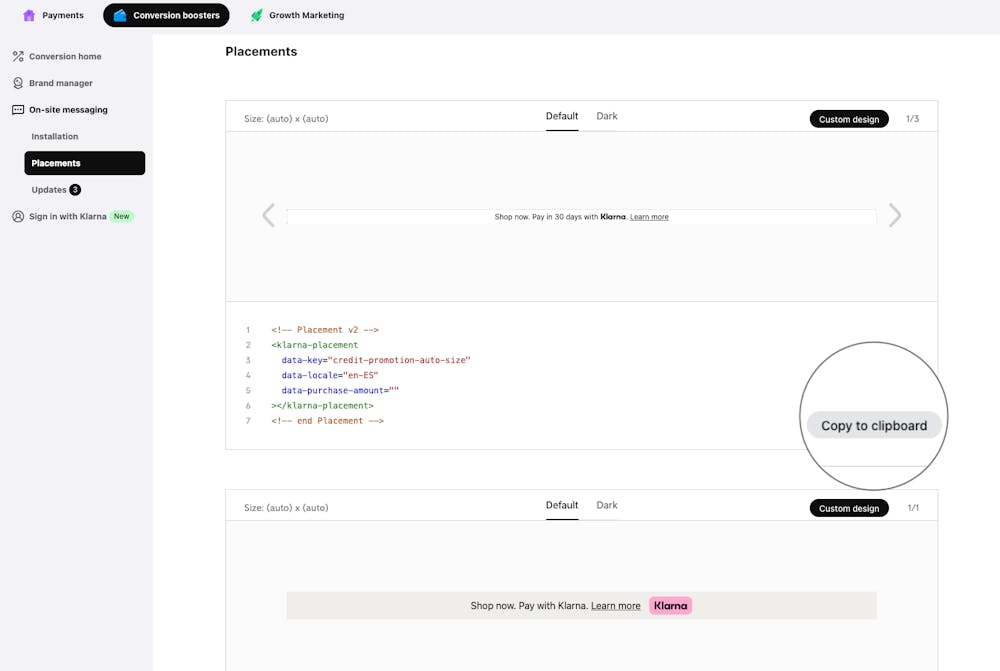
Find the placement you want to add to your website, then click Copy to clipboard.
The numerical values in the placement preview are placeholders and aren't representative of the true values you see in a live integration.
You can now add the copied tag to your website. Insert placement code snippets where you want the messaging to appear.
<!DOCTYPE html>
<html>
  <head>
    <title>My store</title>
  </head>
  <body>
    <script
        async
        data-environment="playground | production"
src="https://js.klarna.com/web-sdk/v1/klarna.js"An HTML example with JavaScript library and a placement tag installed. When integrating, you have to copy your own placement tags from the Merchant portal as they're generated specifically for your configuration.
You can modify the look and feel of the On-site messaging placements. Use any of the two available ways to do so: using CSS on your website or using Klarna's Merchant Portal.
You're now ready to publish the messaging to your site.
Before the go-live:
- You can also customize the content to match your store's look and feel.
- Replace the playground JavaScript library snippet. Your client ID is different in playground and production. If you don't replace the snippet, the changes won't be visible in your production environment.

Something doesn't look quite right? Check out our troubleshooting guide for solutions to some frequent integration errors.